NOTE: This document provides the basic information for getting your first campaign running. For more in-depth information on specific areas within Kochava, refer to Related Pages support documentation links provided.
Data Needed Before Beginning Process:
- Create an App Within Kochava
- Integrate Kochava SDK successfully into an app, SDKs can be found on our SDK Integration page.
Create an Install Campaign
- Log in to Kochava.
- Select the desired Account and App.
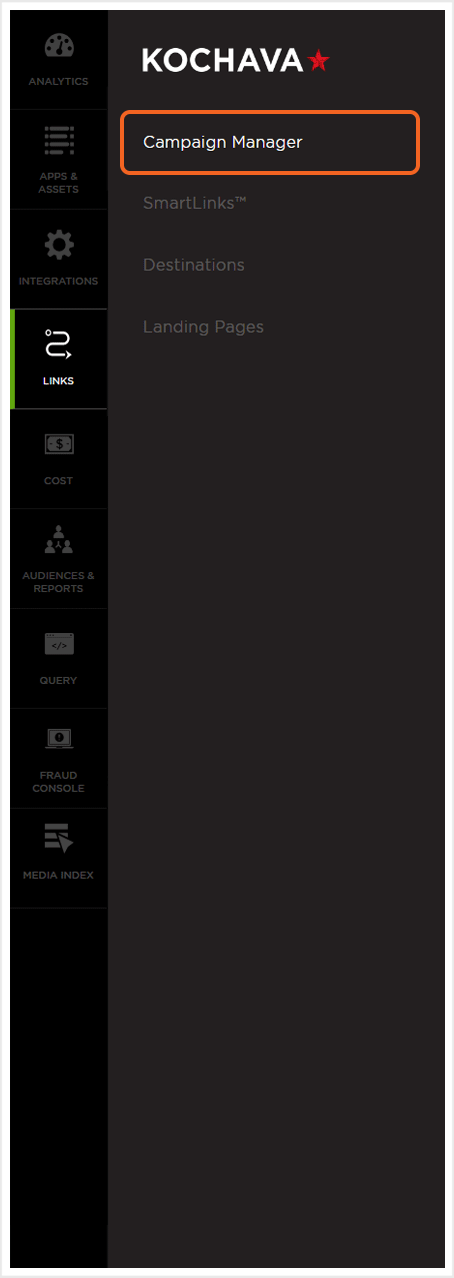
- Select Links > Campaign Manager.

- Click Add a Tracker or Select Segment Tools (⋮) > Add a Tracker.
- Select the Campaign.
- Select the Segment.
- Enter Tracker Name.
- Select the desired Media Partner.
- Click Save.
NOTE: In order to streamline the Campaign/Segment/Tracker creation process a feature has been added to allow the creation of campaigns and segments while creating a new tracker. For more information about creating a campaign or segment while adding a new tracker, refer to our Create an Install Campaign support document. support documentation.
![]()
Create a Postback
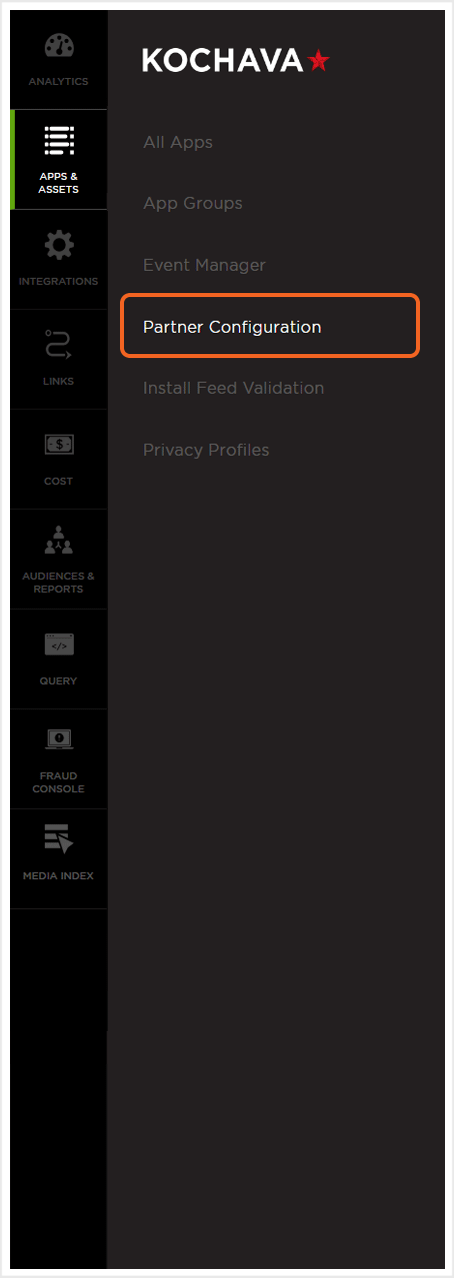
- Select Apps & Assets > Partner Configuration.

- Click Add a Configuration.
- Select a Media Partner.
- Click Go.
- Select Install > Postback Tools (⋮) > Edit.
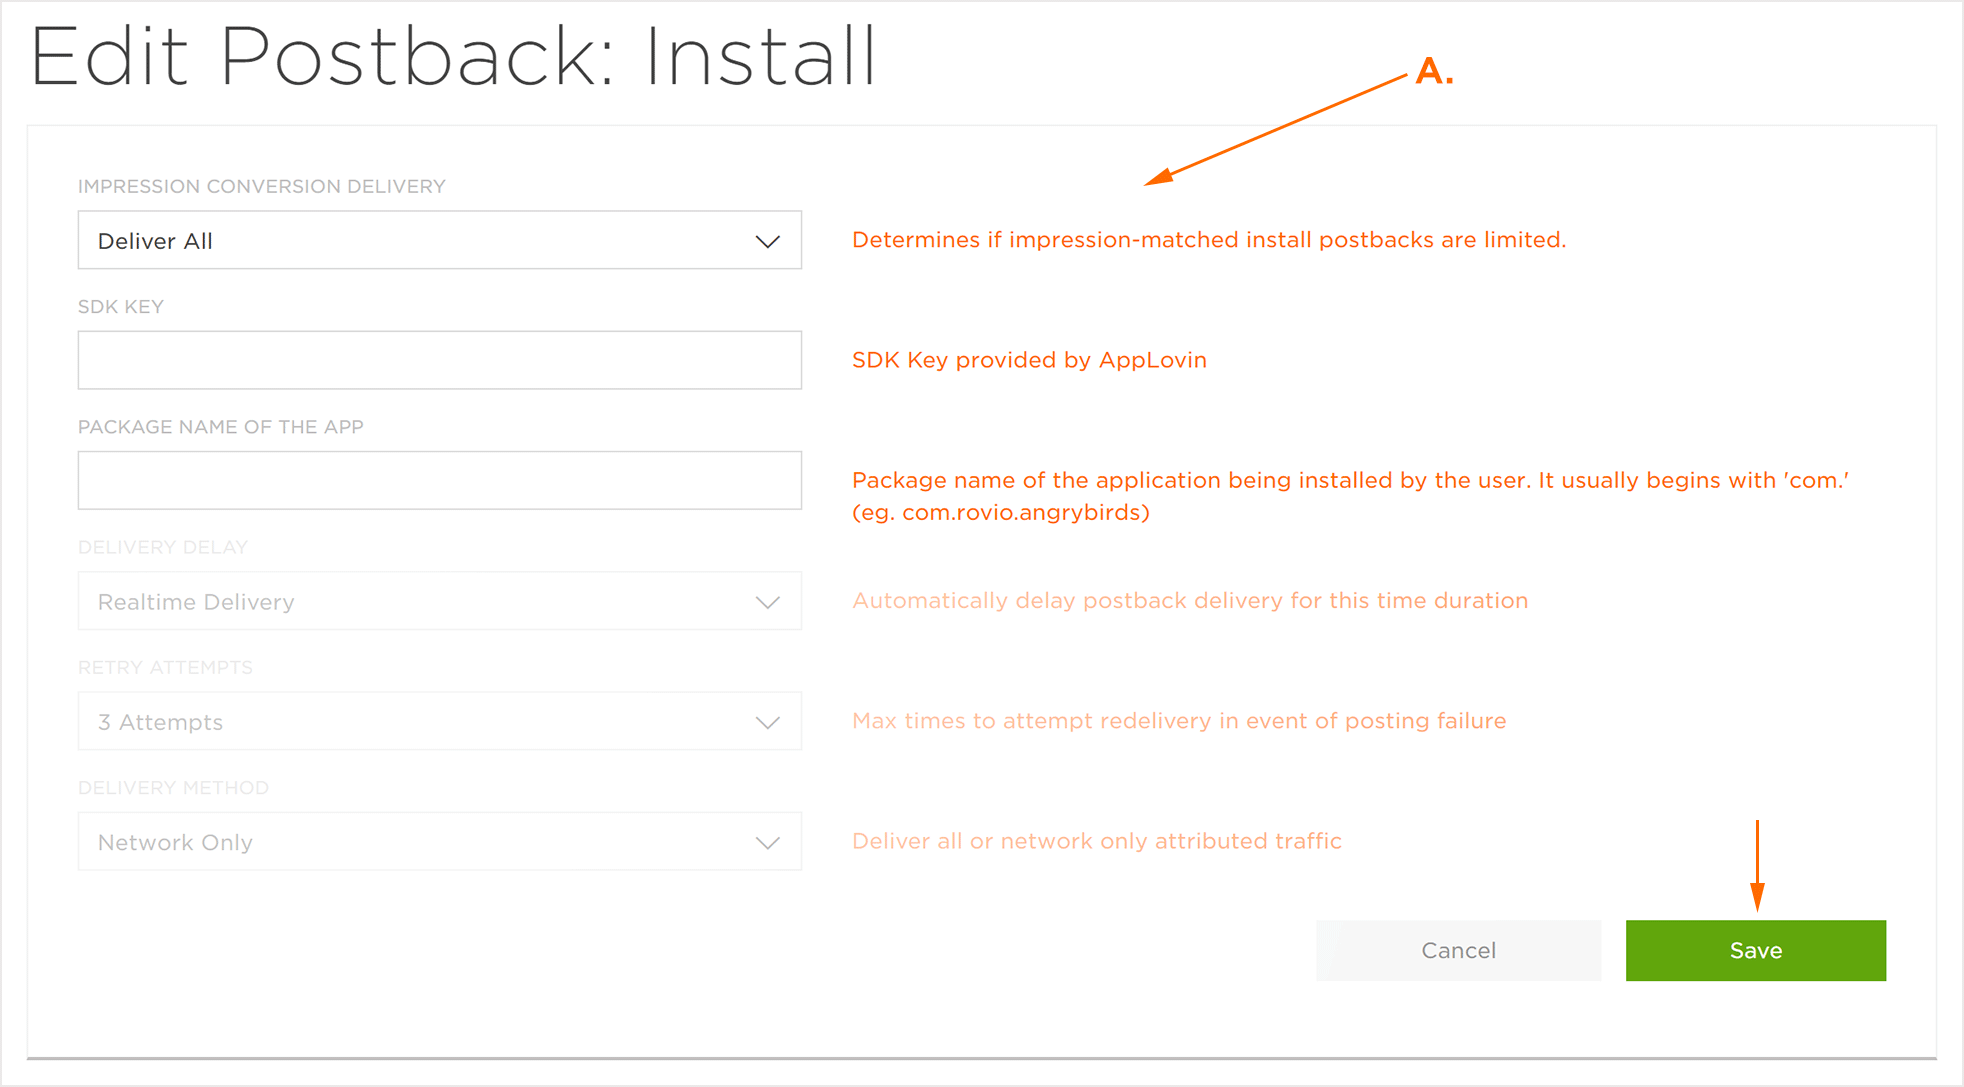
- Enter network specific data.
- Click Save.
NOTE: The network specific data will vary depending on the selected network. For more information about network specific data, contact your Client Success Managers.

NOTE: For more information about creating a Kochava-Certified postback, refer to our Create a Kochava-Certified Postback support documentation.
