The following document describes the process for integrating Kochava with Adobe Analytics in order to send the data captured in Kochava to an Adobe Analytics account.
Data Needed Before Beginning Process:
- Ensure that your app includes both the Adobe Analytics SDK and Kochava SDK.
- Marketing Cloud Visitor ID (Adobe SDK4) – Obtained from the Adobe Analytics SDK.
- Adobe Visitor ID (Adobe SDK4) – Obtained from the Adobe Analytics SDK.
- Experience Cloud ID (Adobe SDK5) – Obtained from the Adobe Analytics SDK.
- Pass the IDs as IdentityLink values via the New Constructor functionality in the Kochava SDK.
Android Integration
SDK5
Sample Code:
// Initialize Adobe SDK
// ...

// Start the Kochava Tracker.
Tracker.configure(new Tracker.Configuration(context)
        .setAppGuid("_YOUR_APP_GUID_")
);

// Retrieve Adobe specific identity values.
Identity.getExperienceCloudId(new AdobeCallback<String>() {
    @Override
    public void call(String id) {
        if(id == null) {
            return;
        }
        Tracker.setIdentityLink(new Tracker.IdentityLink()
                .add("marketingcloudvisitorid", id)
        );
    }
});
SDK4
Sample Code:
// Add adobe specific identity values - This should run only after the Adobe SDK has been initialized.
IdentityLink identityLink = new IdentityLink()
        .add("adobevisitorid", Analytics.getTrackingIdentifier())
        .add("marketingcloudvisitorid", Visitor.getMarketingCloudId());

// Add identity link to the Tracker configuration.
Configuration configuration = new Configuration(context)
        .setAppGuid("_YOUR_KOCHAVA_APP_GUID_")
        .setIdentityLink(identityLink);

// Configure the Kochava Tracker.
Tracker.configure(configuration);iOS Integration
SDK5
Sample Code:
// Initialize Adobe SDK
// ...
// Retrieve Adobe specific identity values and then start the SDK.
ACPIdentity.getExperienceCloudId
{
(retrievedCloudId) in
// Start the Kochava Tracker.
KVATracker.shared.start(withAppGUIDString: "_YOUR_APP_GUID_")
KVATracker.shared.identityLink.register(withNameString: "experiencecloudid", identifierString: retrievedCloudId)
SDK4
Sample Code:
// Should be called after the Adobe Analytics SDK is initialized
NSString *adobeVisitorId = [ADBMobile trackingIdentifier];
NSString *mcid = [ADBMobile visitorMarketingCloudID];

NSDictionary *identityDict = [NSDictionary withObjectsAndKeys:
    adobeVisitorId, @"adobevisitorid",
    mcid, @"marketingcloudvisitorid",
    nil
];

NSDictionary *initDict = [NSDictionary dictionaryWithObjectsAndKeys:
@"myKochavaAppGUID", @"kochavaAppId", // must be replace with app GUIDs provided by Kochava
@"usd", @"currency", // optional - usd is default
@"0", @"limitAdTracking", // optional - 0 is default
@"0", @"enableLogging", // optional - 0 is default
identityDict, @"identityLink",
nil];

kochavaTracker = [[KochavaTracker alloc] initKochavaWithParams:initDict];Add A Postback Configuration
- Log in to Kochava.
- Select the desired Account and App.
- Select App Configurations > Partner Configuration.
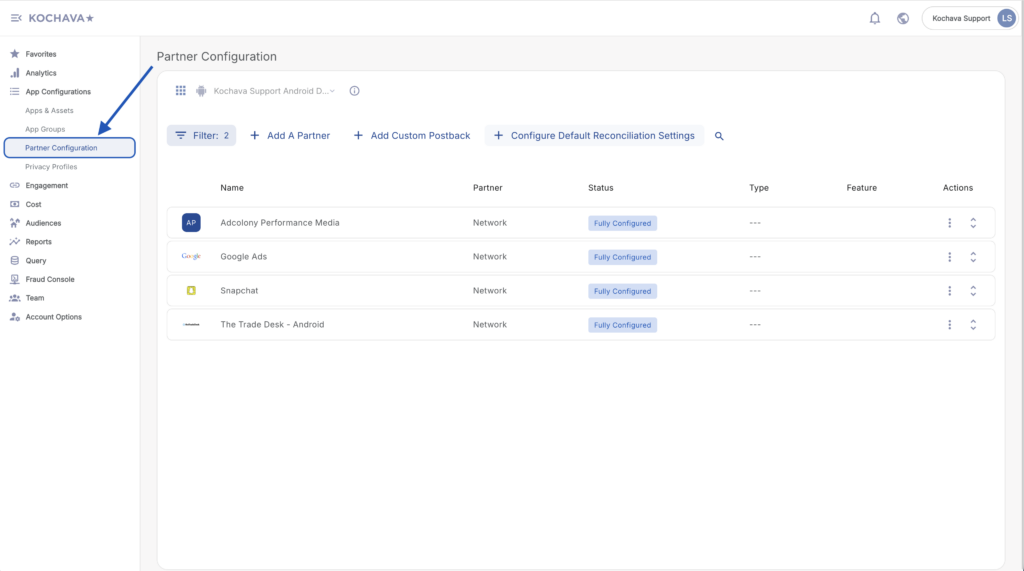
- Click + Add a Configuration.
- Select Adobe Analytics.
- Click Save.
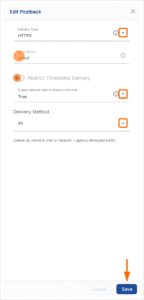
- Locate the desired event and Click + for a new configuration or 🖉 (Edit) for an existing configuration.
- Select the Delivery Type:
- HTTP
- HTTPS
- Enter the Event Name.
- Check Restrict Timestamp Delivery. (optional)
- Select whether to Supply Network Data to Analytics Partner:
- True
- False
- Select the Delivery Method:
- All
- Network Only
- Click Save.
Sample Integration
Sample Code:
<?xml version="1.0" encoding="UTF-8"?>
<request>
<scXmlVer>1.0</scXmlVer>
<reportSuiteID>RRMmobileintegrationtest</reportSuiteID>
<visitorID>1234567890123456-6543210987654321</visitorID>
<channel></channel>
<timestamp>2015-04-03T09:47:44-07</timestamp>
<ContextData>
  <KochavaCampaignID>12345</KochavaCampaignID>
  <KochavaCampaignName>Summer Collection</KochavaCampaignName>
  <KochavaInstallEvent>1</KovhavaInstallEvent>
  <KochavaNetworkName>Facebook</KochavaNetworkName>
  <KochavaTrackingPartner>??</KochavaTrackingPartner>
</ContextData>
</request>Testing the Integration
For more information on testing the integration with Kochava, refer to our Testing an Integration with Kochava support documentation.