Kochava’s Post-Install Event Configuration UI (User Interface) allows for the management of events being sent to Kochava. Features include setting minimum time to reengagment window, remapping (renaming) event names, disabling events, deleting events, and designating specific events that are sending revenue data as ‘revenue events’.
Use Cases for Post-Install Events:
- Gather in-app purchase information that can be used for LTV (Lifetime Value) calculation.
- Create a JSON formatted string in which several data points can be tracked.
- Pass any piece of information to be paired with an event title.
Create an Event
Post-install events allow users to understand and correlate the relationship between attribution source information and post-install behavior. The following steps provide instructions for creating events within Kochava.
- Log in to Kochava.
- Select the desired Account.
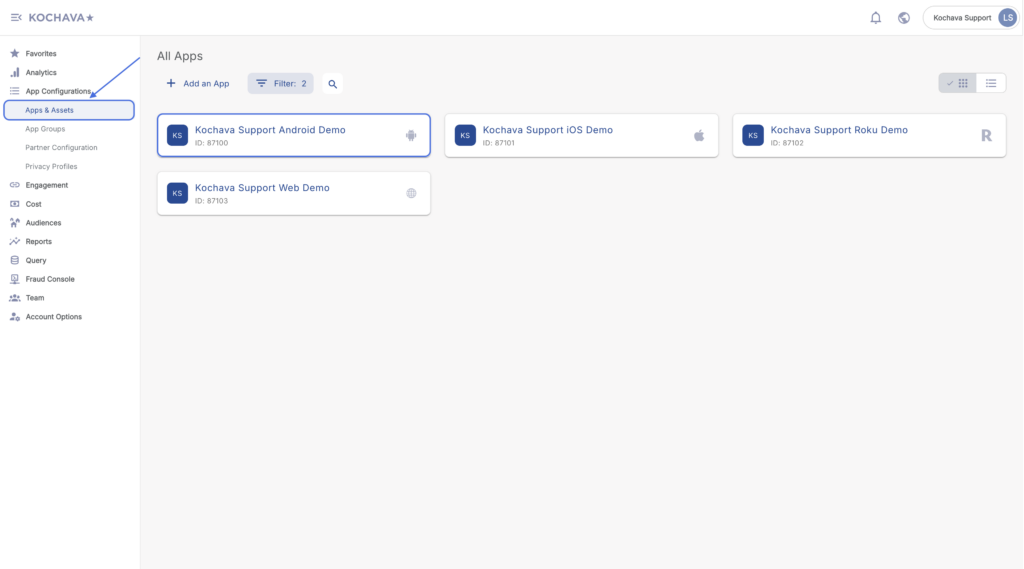
- Select Apps Configurations > Apps & Assets.
- Select the desired App.
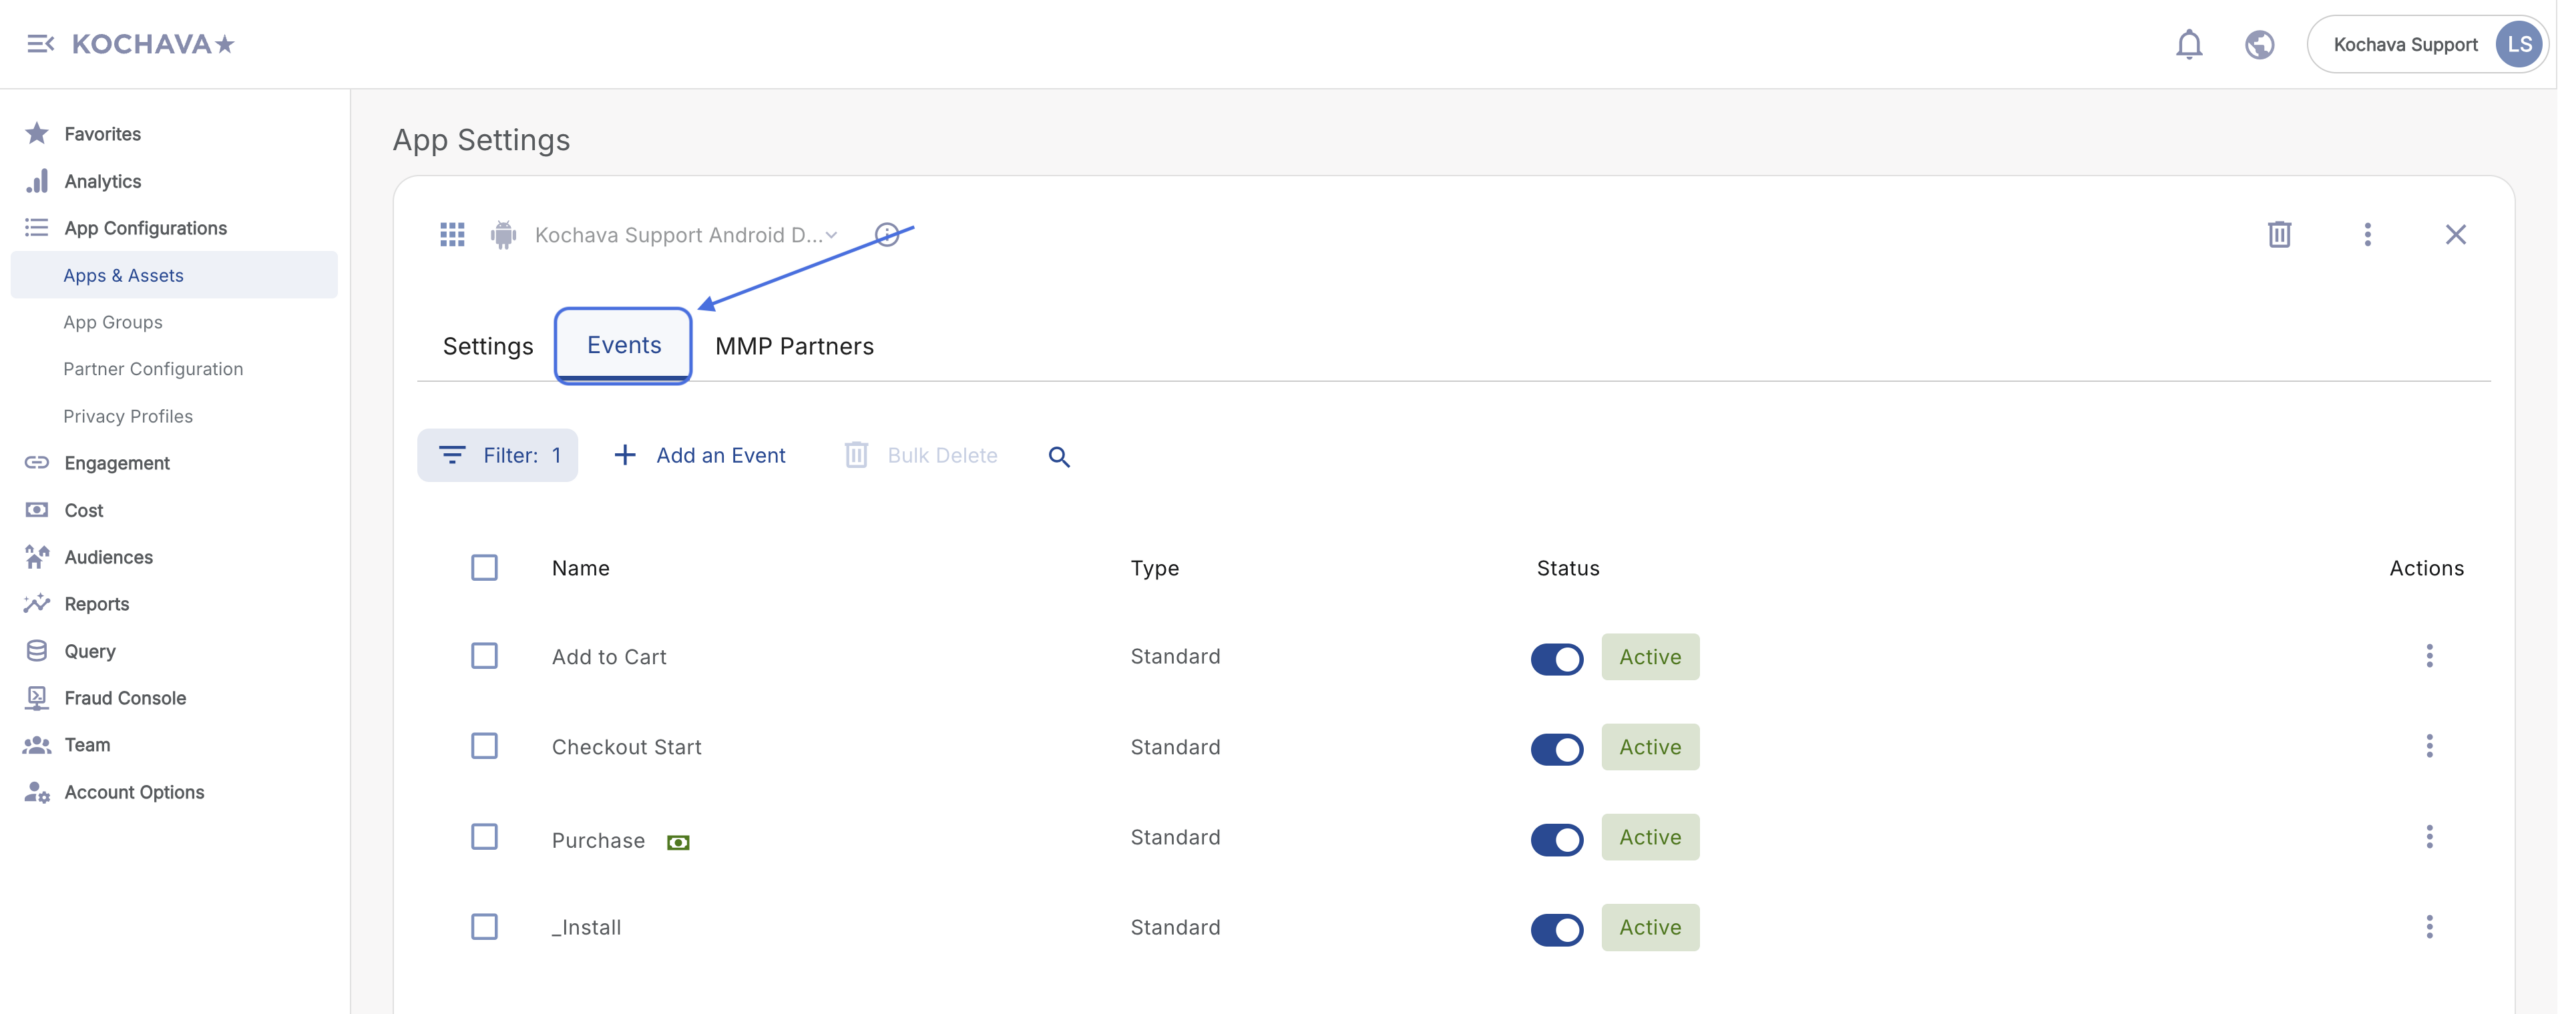
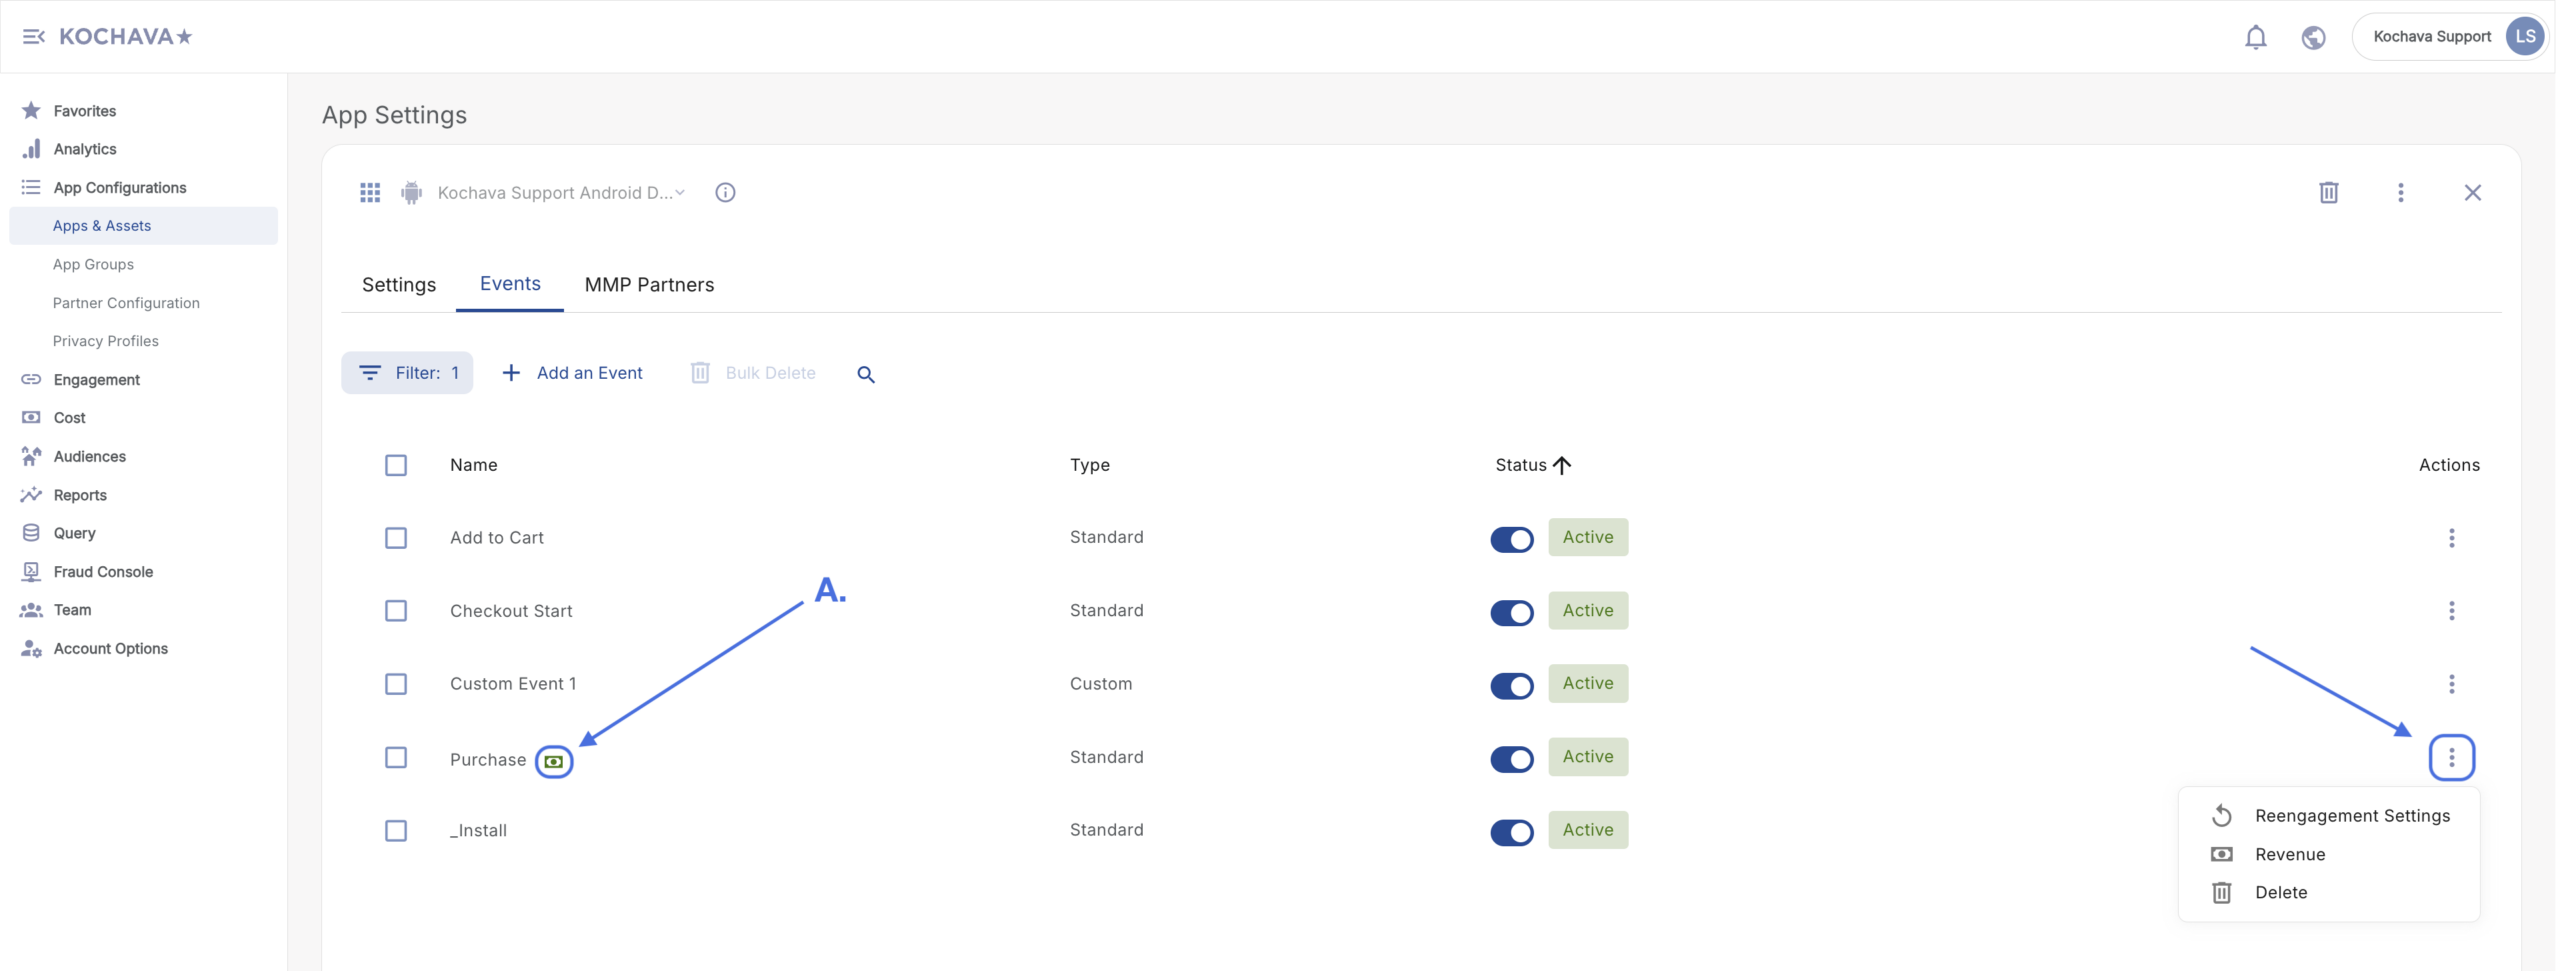
- Select the Events tab.
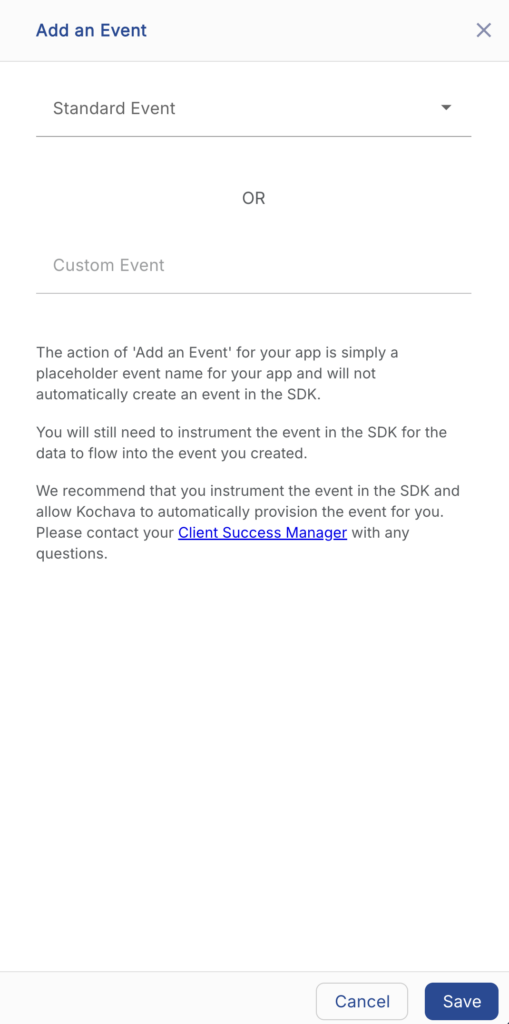
- Click + Add an Event.
- Select a Standard Event or Enter a Custom Event name.
- Click Save.
Event Configuration
Standard Event Configuration:
The following options are available for configuring standard events:
- Reengagement Settings (Set the Minimum Time for Reengagement for the event)
- Revenue (Select the Revenue assignment)
- Delete (Permanently remove the event)
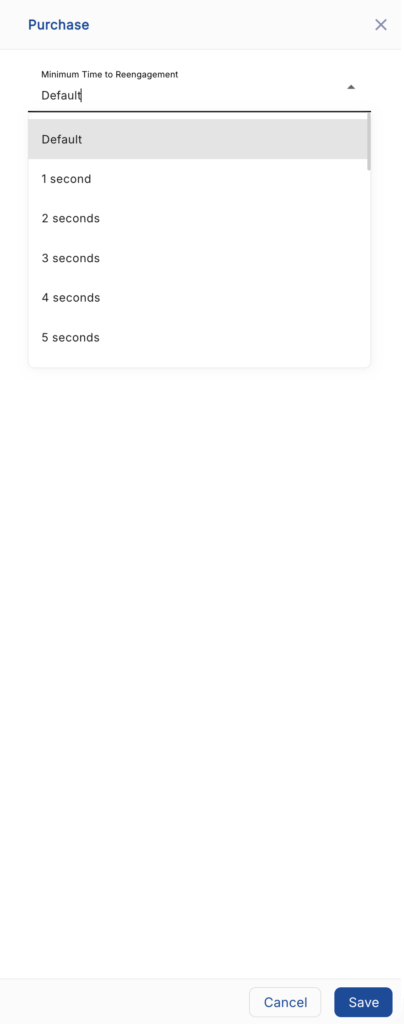
Event Minimum Time to Reengagement Settings —
- Click Event Tools > Reengagement Settings.
- Select the desired Lookback Window:
- Default (24 Hours)
- 1 Second up to 365 Days
- Click Save.
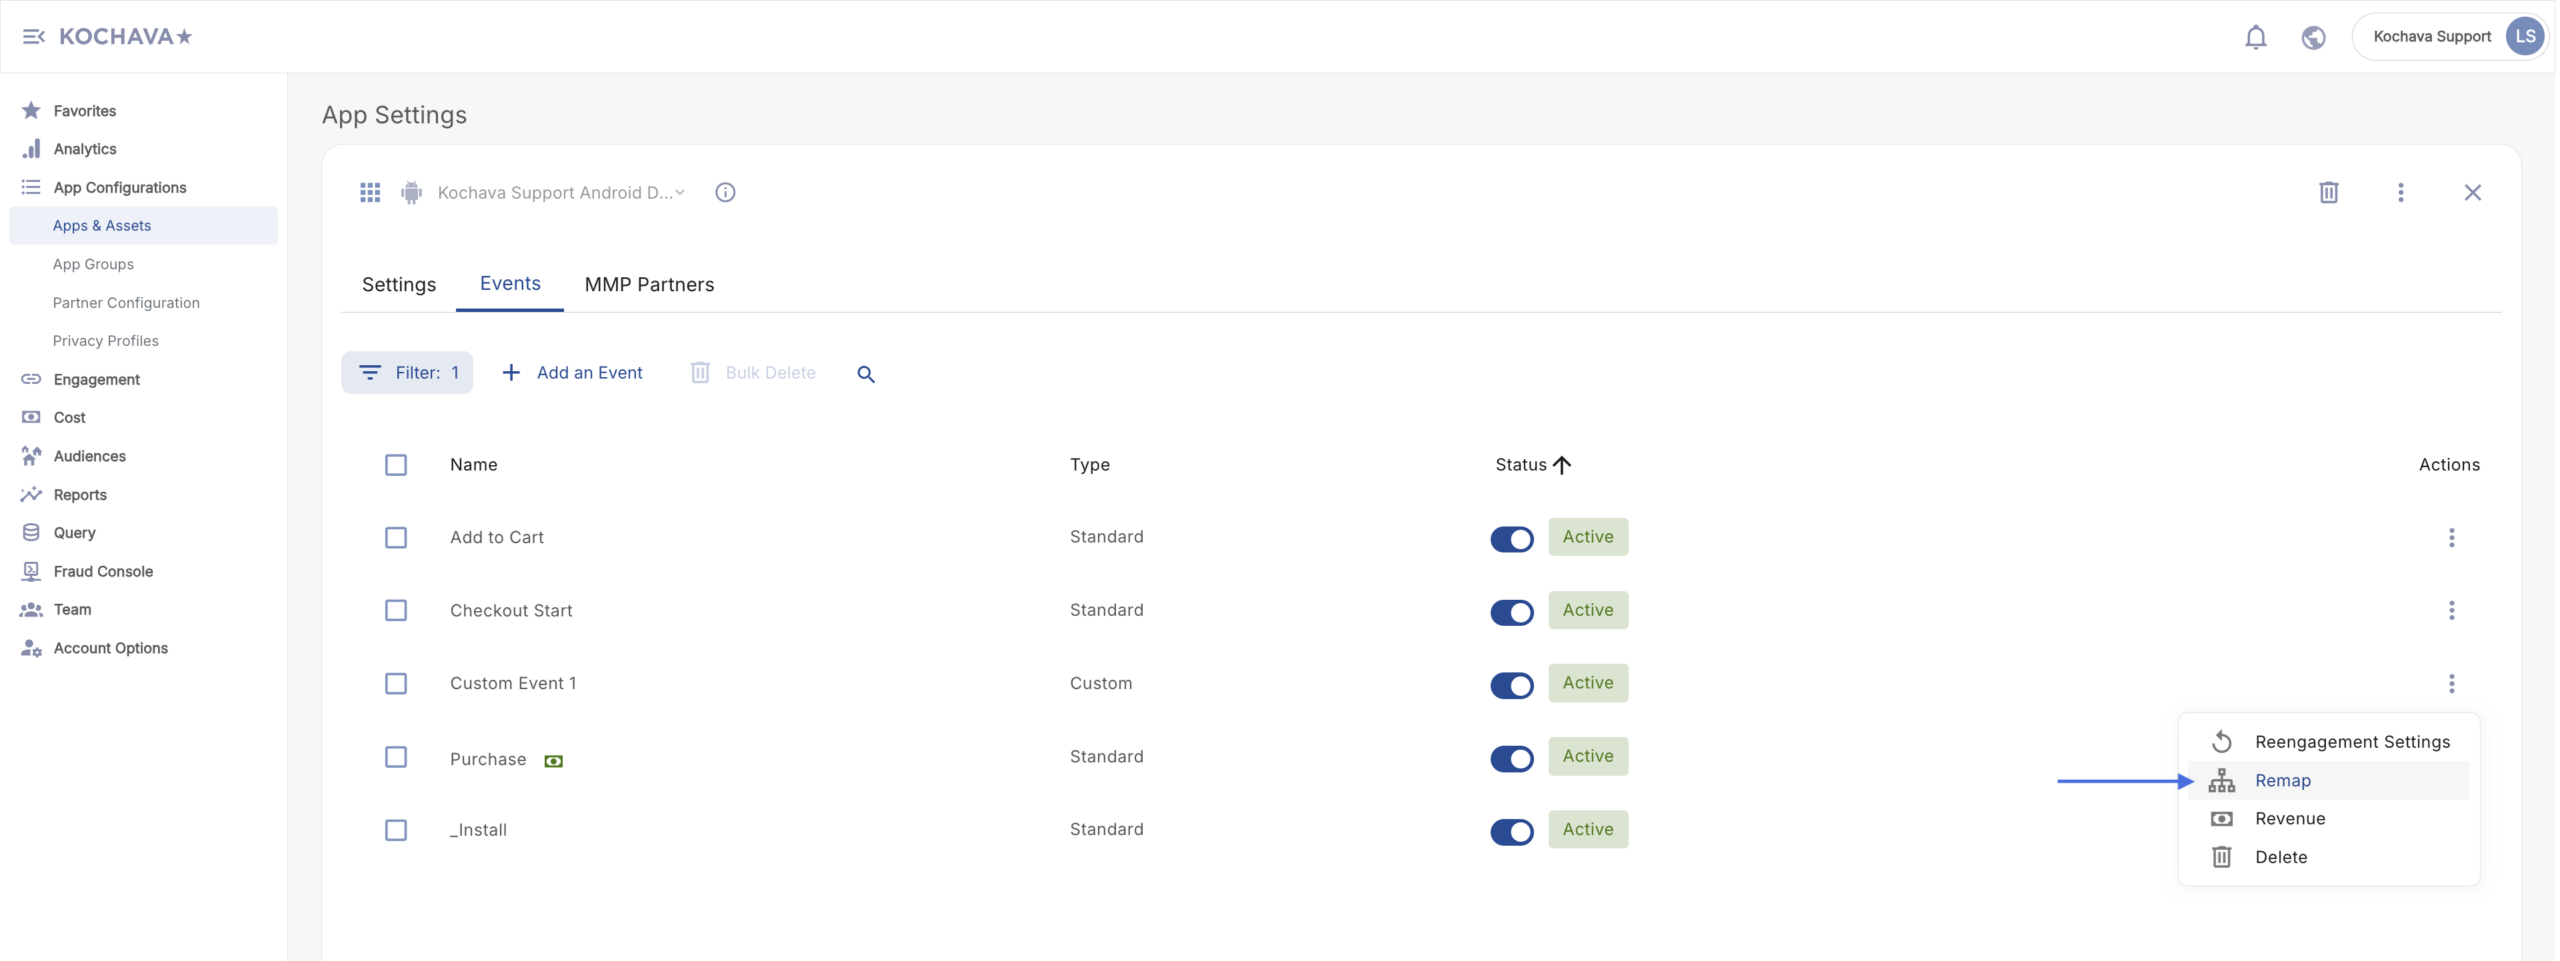
Custom Event Configuration:
The following additional options are available for configuring custom events:
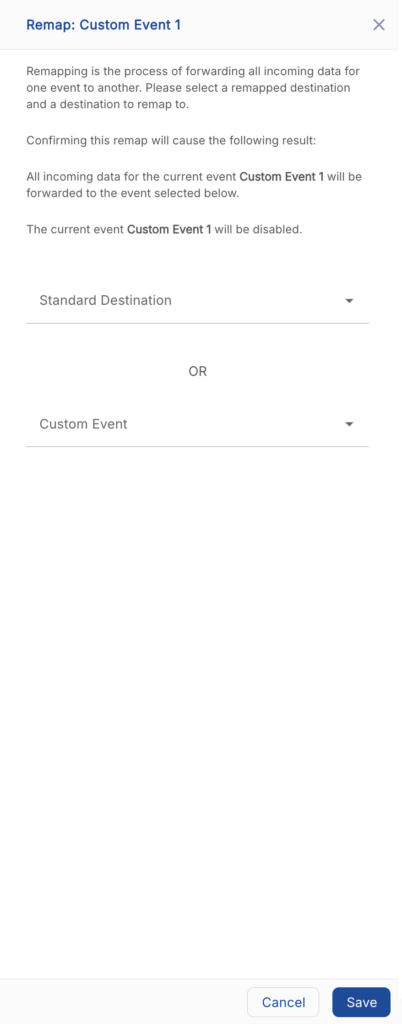
- Remap (Forward all incoming data from one event to another)
- Select Standard Destination, or Select Custom Destination.
- Click Submit.