The following document defines the process for testing a Campaign within Kochava.
Preparation of the Test Device: (Complete one of the following)
- The test device has never had the app installed.
- The app has been uninstalled and the device has been scrubbed. For more information on scrubbing the test device, refer to our Test Devices support documentation.
Procedures Completed Before Beginning Process:
- Campaign successfully created within Kochava. For more information, refer to our Campaign Management support documentation.
- Postback successfully created within Kochava. For more information, refer to our Create a Kochava-Certified Postback support documentation.
Testing a Campaign Procedures
- Log in to Kochava.
- Select the desired Account and App.
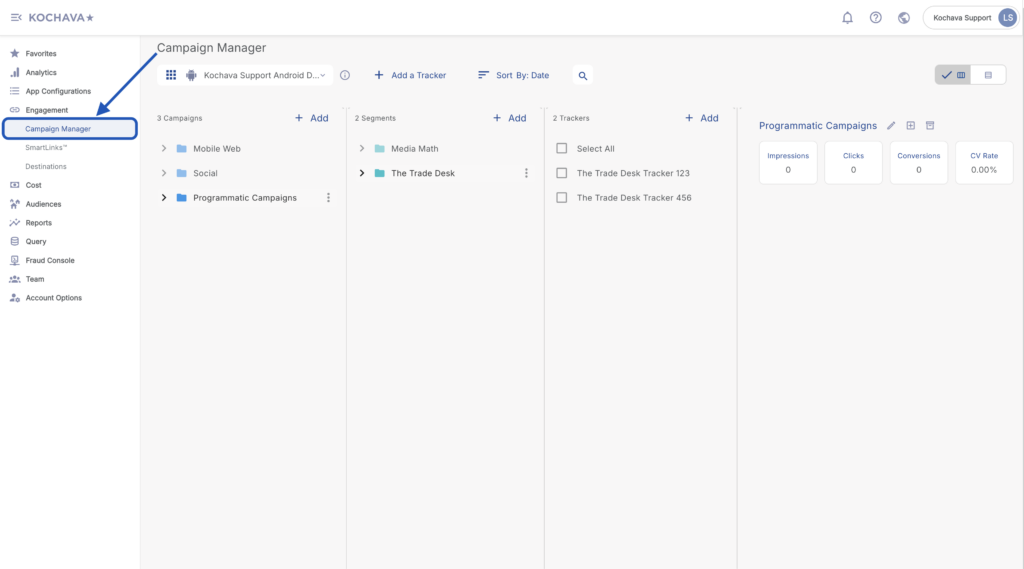
- Select Engagement > Campaign Manager.
- Select the desired Campaign.
- Select the desired Segment.
- Locate the desired Tracker, Select Tracker Tools (⋮) > Edit.
- Locate the Click URL.
- Copy and Email the Click URL to an email address accessible from the test device.
- Replace Macros.
- From the test device, Click the Click URL.
- Install the app.
- Launch the app on the test device.