Twitter is a SAN (Self-Attributing Network) but is still eligible to claim events as re-engagement conversions. The following document defines the process for creating a Twitter reengagment campaign within Kochava.
Create a Kochava Tracker
- Log in to Kochava.
- Select the desired Account and App.
- If not already created, create a new Twitter campaign. For more information about creating campaigns, refer to our Create an Install Campaign support documentation.
- Enter a Tracker Name.
- Select Segment Tools (⋮) > Add a Tracker.
- Select Tracker Type > Reengagement.
- Select a Network > Twitter:
- Twitter — iOS
- Twitter — Android
- Select the Twitter Account to associate with this tracker.
- Enter the app Apple ID (iOS) or Bundle ID (Android). For further information about locating the Bundle ID, click here.
- Select the Target Event.
- Select the Post-Engagement Attribution Window.
- Select the Post-View Attribution Window.
- Select the Event Matching Event.
- Click Submit. (If no further trackers need to be created).
- Click Save and Add Another Tracker. (If additional trackers need to be created).
- Click Save & Create Postback. (To navigate directly to the Partner Configuration page).
Create a New Kochava Postback Configuration
- Log in to Kochava.
- Select the desired Account and App.
- Select App Configurations > Partner Configuration.
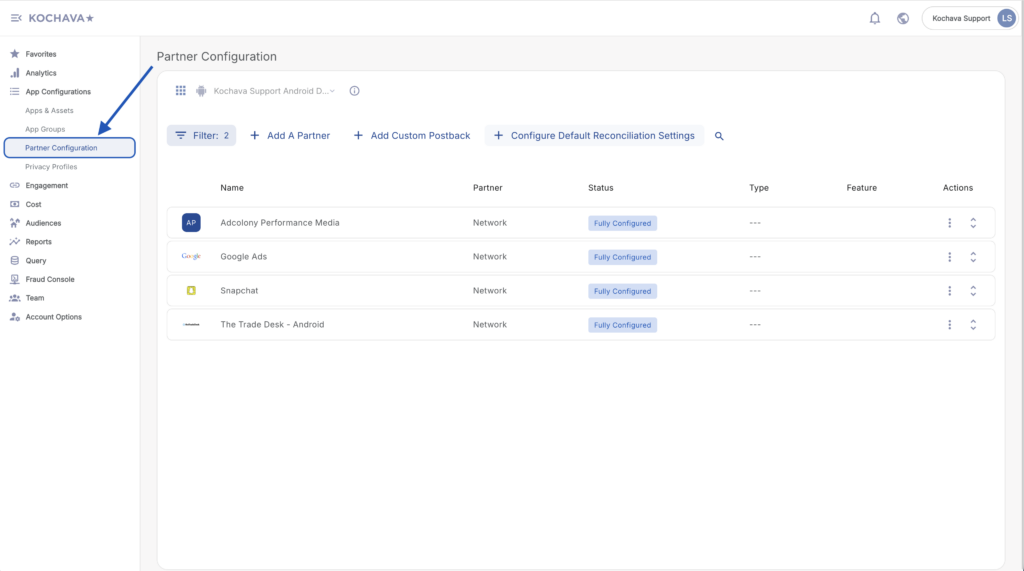
- Click Add a Configuration.
- Select Network Configuration > Twitter:
- Twitter—iOS
- Twitter—Android
- Locate the desired postback event and Select Postback Tools (⋮) > Create.
- Enter the App ID:
- iTunes App ID (iOS)
- Package Name (Android)
- Enter the Twitter Conversion Type.
- Select a Delivery Delay.
- Select the number of Retry Attempts.
- Select the Delivery Method.
- Click Save.