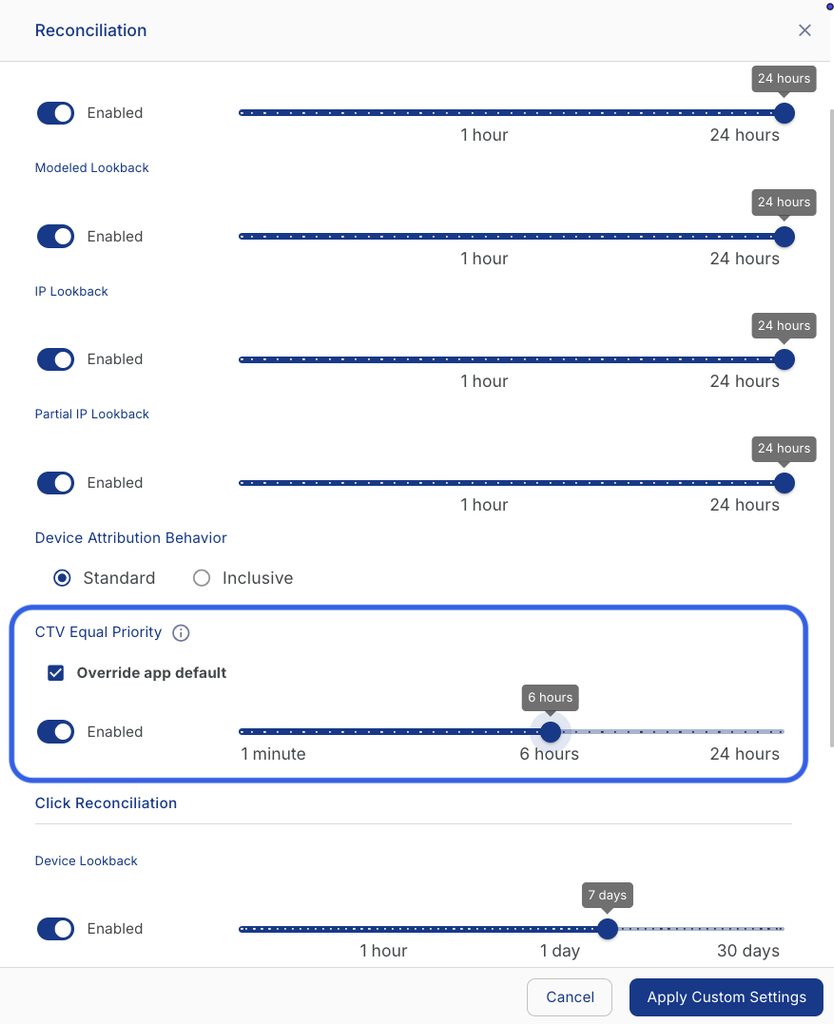
Connected TV (CTV) advertising is predominantly an impression-driven medium where consumers view ads on television screens and convert downstream on secondary devices such as mobile phones, tablets, or computers. In standard attribution models, clicks inherently outrank impressions. CTV Equal Priority allows marketers to elevate CTV impressions so they compete equally alongside clicks during attribution reconciliation, ensuring accurate view-through credit for cross-device CTV campaigns.
Understanding CTV Equal Priority
In the standard Kochava attribution waterfall, user touchpoints are evaluated according to Recency, Match Type, and Match Integrity:
- Match Type Priority: By default, click engagements possess a higher priority than impression engagements because clicks reflect active user interaction, whereas impressions represent passive ad exposure. Even if an impression occurred seconds prior to a conversion, an eligible click that occurred days earlier within its lookback window would win attribution.
- The CTV Challenge: In Connected TV campaigns, ads rarely provide a direct-click mechanism. When a user watches a CTV ad and subsequently installs or reengages with an app on their mobile device, an incidental mobile ad click or organic touchpoint could supersede the high-impact CTV impression under standard waterfall logic.
- The Solution (CTV Equal Priority): When CTV Equal Priority is active, qualified CTV impressions within the configured equal priority window are elevated to compete on the same priority tier as clicks. Attribution between an elevated CTV impression and a competing click is resolved strictly by recency (last-touch wins).
Attribution Precedence Hierarchy
CTV Equal Priority settings follow Kochava’s standard configuration inheritance model. Settings configured at more granular levels override higher-level defaults:
| Precedence Level | Location in UI | Description |
|---|---|---|
| 1. Tracker Overrides (Highest) | Campaign Manager > Tracker Tools (⋮) > Tracker Overrides | Explicitly sets or disables the Equal Priority window for an individual tracker, overriding partner and app settings. |
| 2. Partner Reconciliation | Partner Configuration > Partner Tools (⋮) > Reconciliation | Customizes the Equal Priority window for a specific media partner across all trackers associated with that partner for an app. |
| 3. Default Reconciliation (Baseline) | Partner Configuration > Configure Default Reconciliation Settings | Establishes the app-wide default Equal Priority window inherited by all partners unless customized. |
Configuring CTV Equal Priority Across the UI
CTV Equal Priority and its associated inventory flags can be configured in four key areas of the Kochava platform:
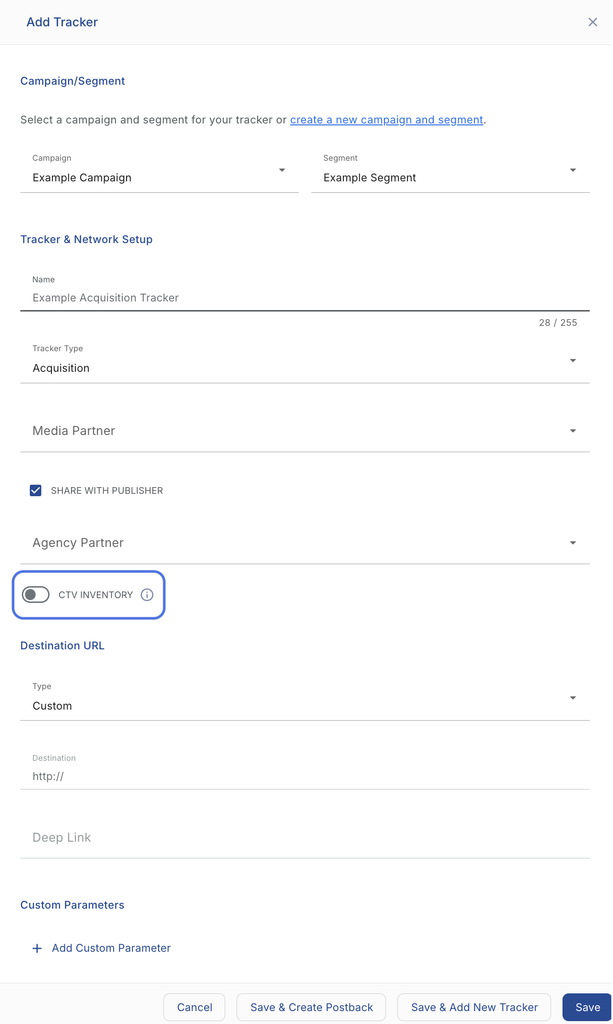
1. Campaign Manager: Tracker Creation Process
- Navigate to Engagement > Campaign Manager.
- Select the desired Campaign and Segment.
- Click + Add (Tracker).
- Enter tracker details and select the Media Partner and Agency Partner (if applicable).
- Toggle CTV Inventory to ON. (optional)
- Complete remaining tracker settings and click Save.
For complete campaign creation guides, refer to:
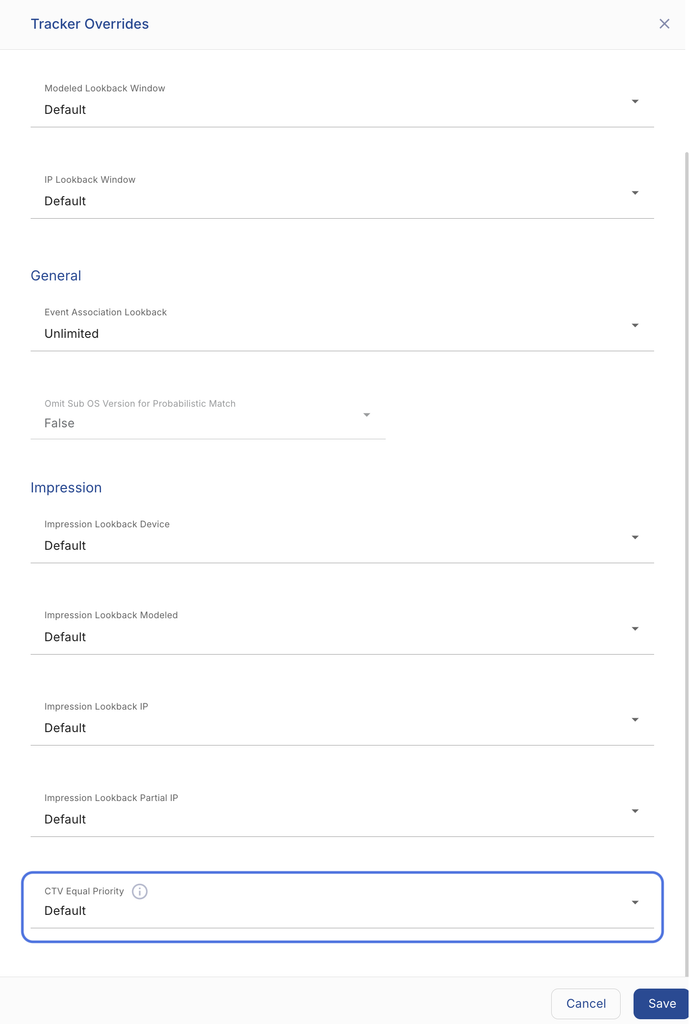
2. Campaign Manager: Tracker Override Settings
- Navigate to Engagement > Campaign Manager.
- Select the desired Campaign and Segment.
- Locate the desired Tracker and click Tracker Tools (⋮) > Tracker Overrides.
- Scroll down to the Impression section.
- Locate CTV Equal Priority and select:
- Default (inherits the partner or app default)
- Disabled
- Custom Lookback Window: 1 Minute up to 24 hours.
- Click Save.
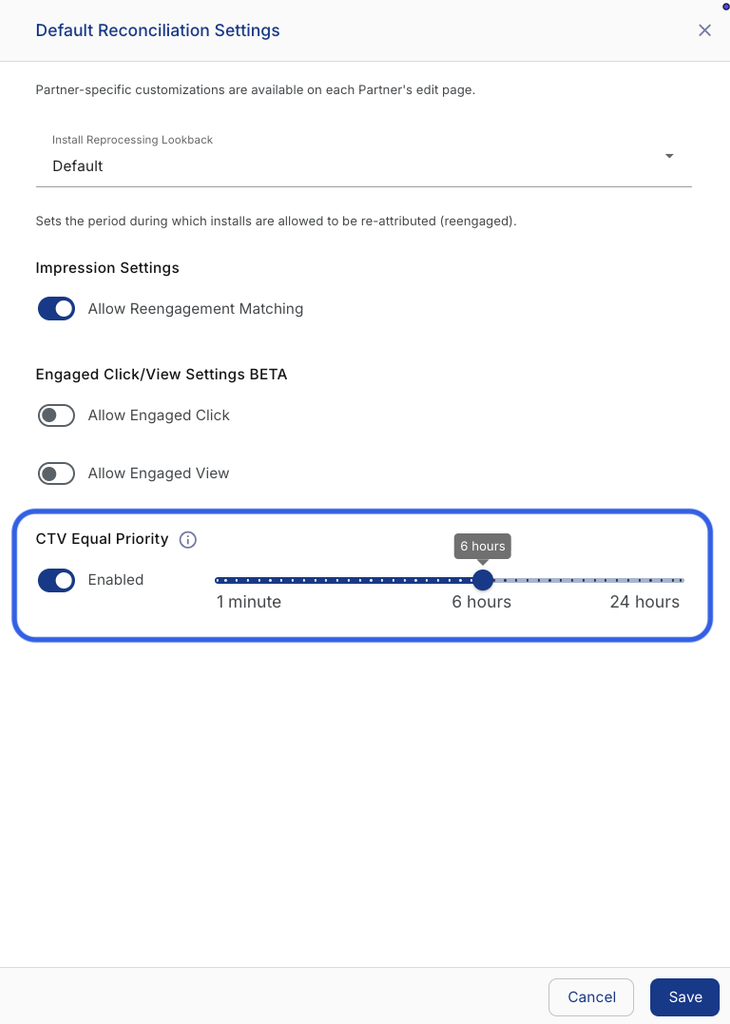
3. Partner Configuration: Default Reconciliation Settings
- Navigate to App Configurations > Partner Configuration.
- Click + Configure Default Reconciliation Settings.
- Under Impression Settings, locate CTV Equal Priority.
- Select Disabled or adjust the slider to the desired duration (1 minute up to 24 hours).
- Click Save.
4. Partner Configuration: Partner-Level Reconciliation Settings
- Navigate to App Configurations > Partner Configuration.
- Locate the desired media partner and select Partner Tools (⋮) > Reconciliation.
- Toggle Override default settings to ON.
- Under Impression Reconciliation, locate CTV Equal Priority.
- Select Default, Disabled, or adjust the slider to a custom window (1 minute up to 24 hours).
- Click Apply Custom Settings.