The AIM Onboarding feature is found under Advertiser Tools → MMM Configurations in the Kochava console, on the AIM Onboarding tab. It walks a client (or their Kochava onboarding manager / CSM) through an 8-step guided questionnaire that captures everything Kochava’s AIM (Always-On Incremental Measurement) team needs to configure a Marketing Mix Model (MMM) for a client’s app.
Upon completion, the wizard automatically generates:
- A Scope of Work (SOW) document
- A Delivery Timeline with milestones
- A Data Schema (what the client needs to provide vs. what is collected automatically)
- A Field/Data Mapping table (source fields mapped to AIM’s schema)
This document walks through every screen, field, and conditional element encountered while completing the wizard, using a sample fictional account (“Acme Mobile Inc.” / “Acme Fitness App”) for illustration.
Getting Started
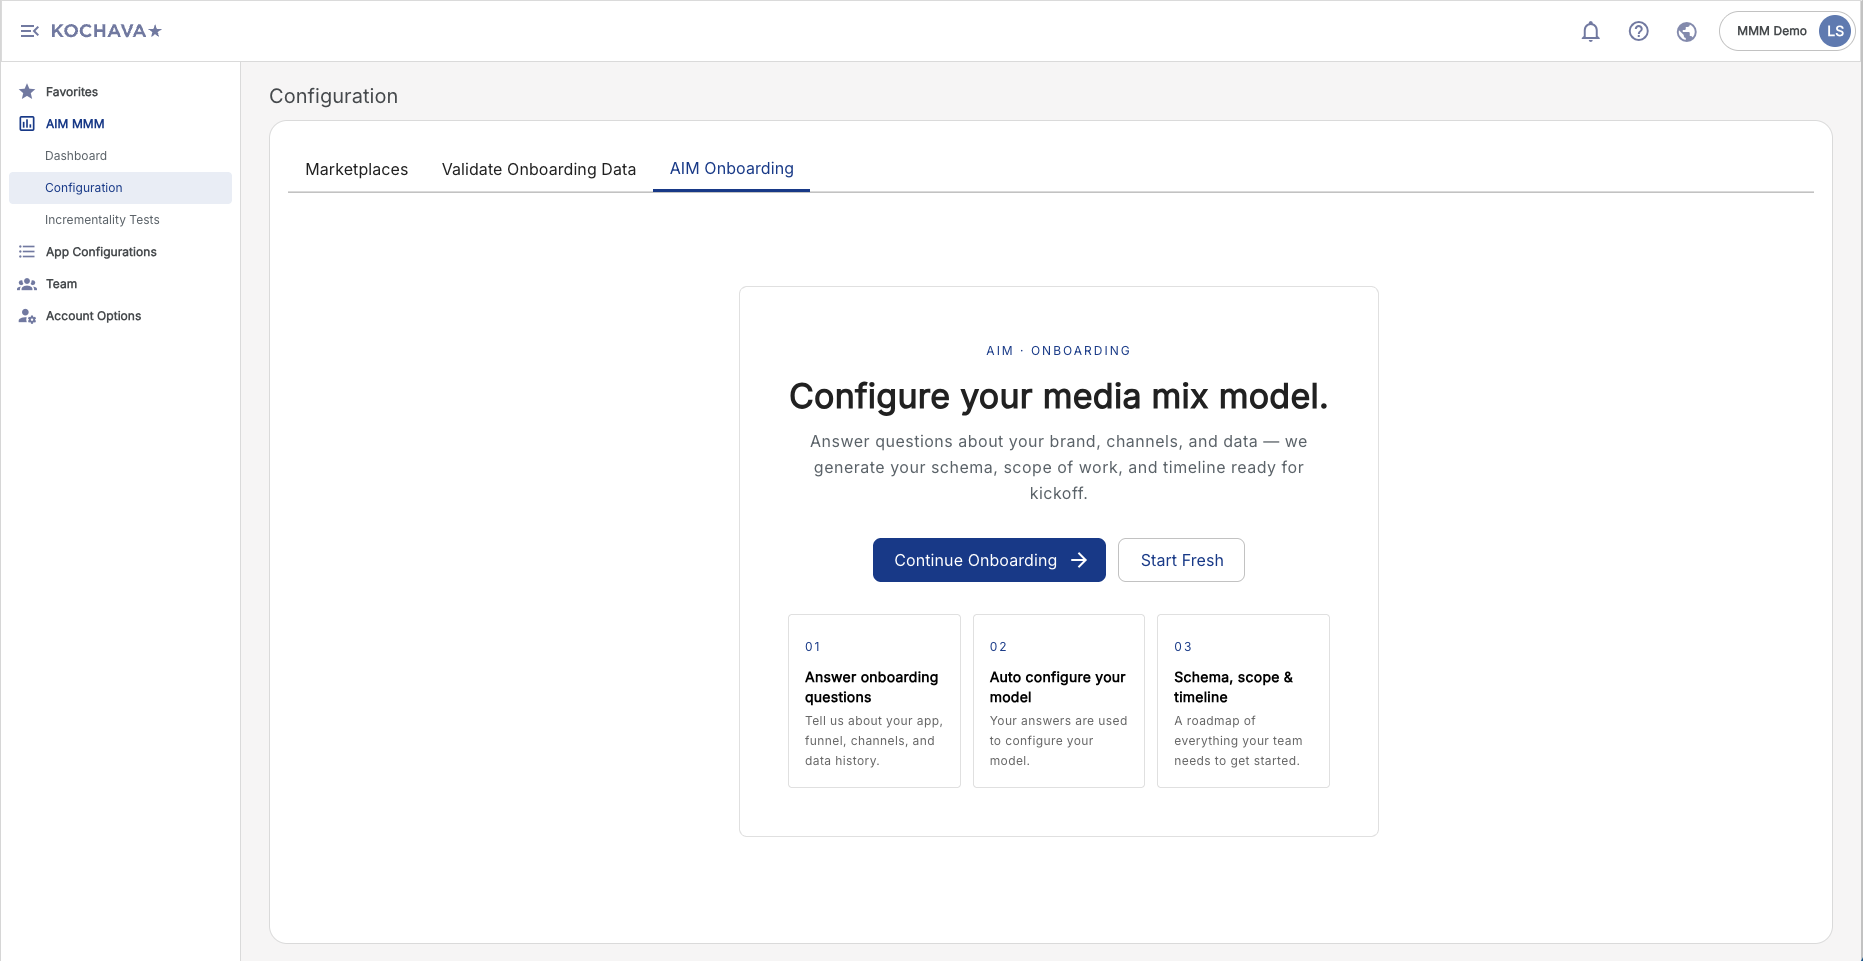
From the Configuration page, the AIM Onboarding tab presents a landing screen describing the process in three parts:
- Answer a short set of guided questions about your team, product, and marketing setup.
- AIM auto-configures your model based on your answers.
- You receive a generated data schema, project scope, and delivery timeline.
Two entry-point buttons are available:
- Continue onboarding — resumes/starts the step-by-step wizard.
- Start fresh — resets any previously saved answers and starts the wizard from Step 1.
Step 1 of 8 — Who are you? (Your team)
Step 1 (Click to Expand)
Captures the internal stakeholders responsible for the AIM project.
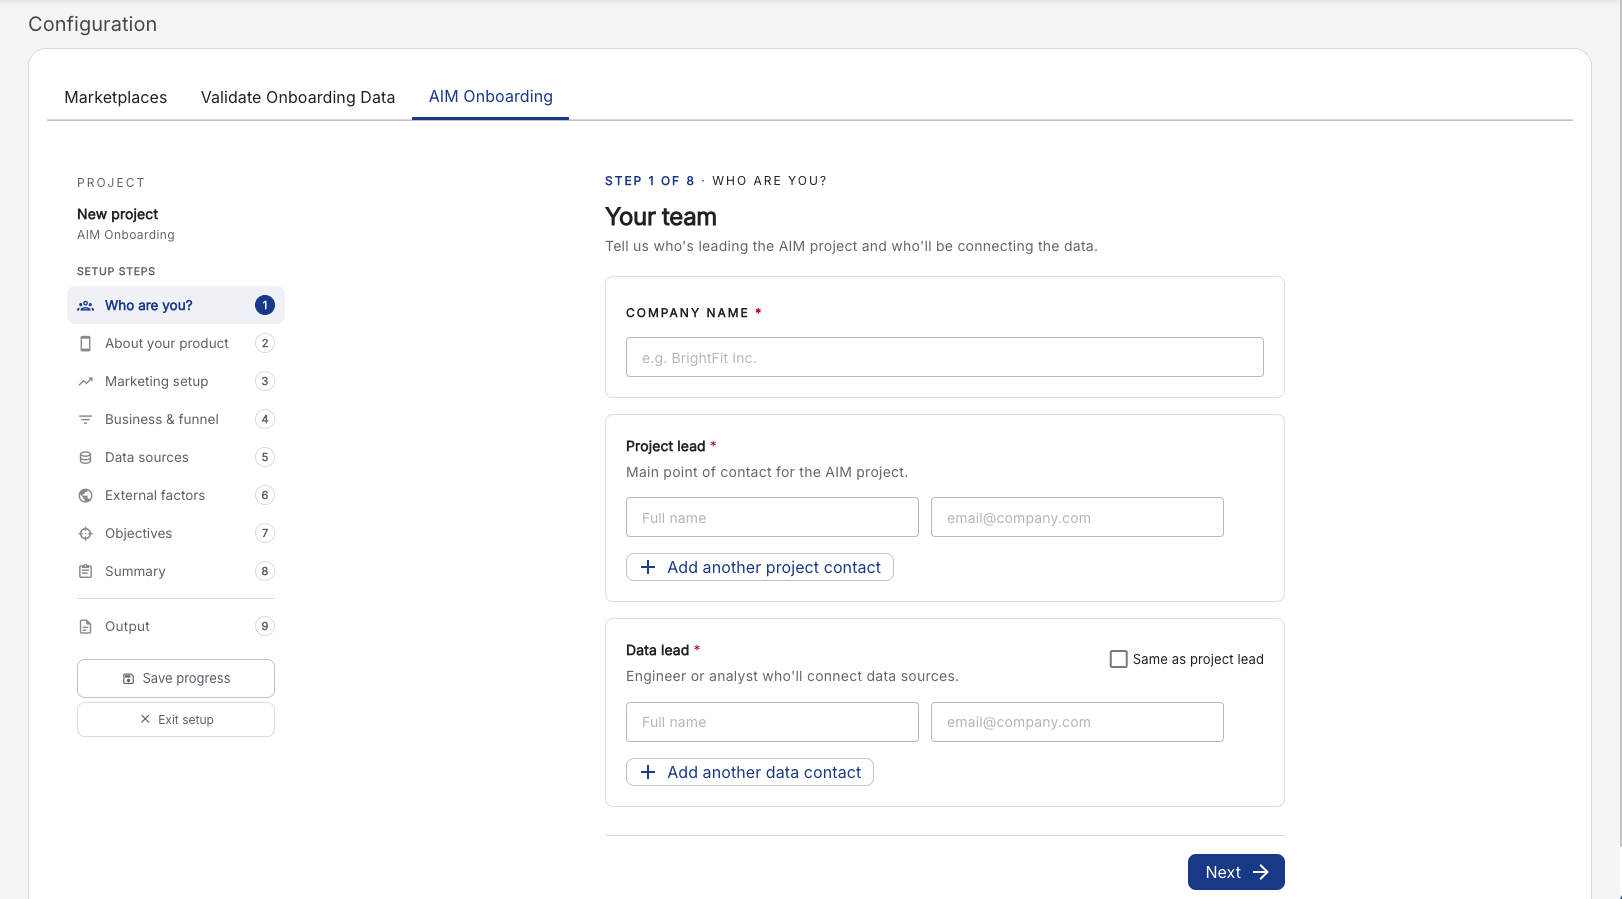
| Field | Description |
|---|---|
| Company name (required) | Free-text field, e.g. “Acme Mobile Inc.” |
| Project lead (required) | Name + email of the main point of contact for the AIM project. An “Add another project contact” button allows adding additional project leads. |
| Data lead (required) | Name + email of the engineer/analyst who will connect data sources. Includes a “Same as project lead” checkbox to auto-populate this section from the Project Lead fields. An “Add another data contact” button allows adding additional data leads. |
Click Next to proceed.
Step 2 of 8 — About your product
Step 2 (Click to Expand)
Gathers basic product, platform, and market information.
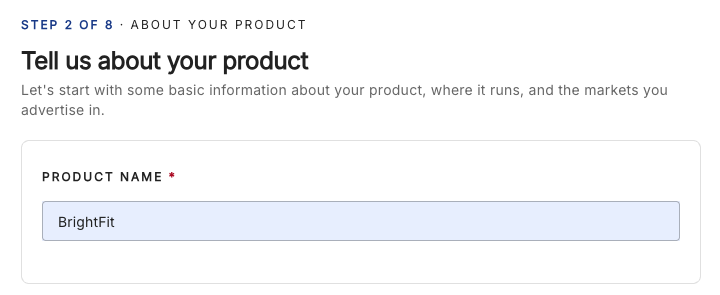
2.0 — Product name (required)
Free-text field for the app/product name (e.g. “Acme Fitness App”).
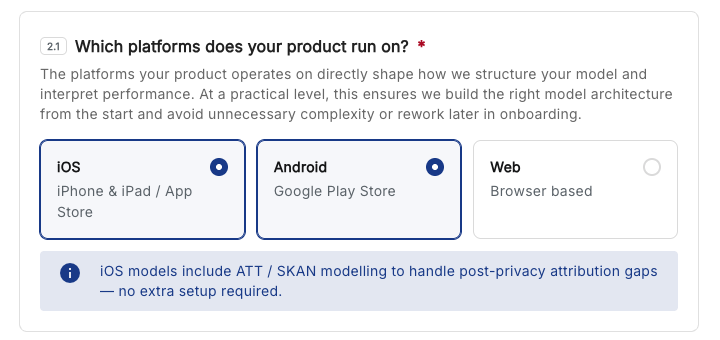
2.1 — Which platforms does your product run on? (required)
Toggle cards for:
- iOS — iPhone & iPad / App Store
- Android — Google Play Store
- Web — Browser based
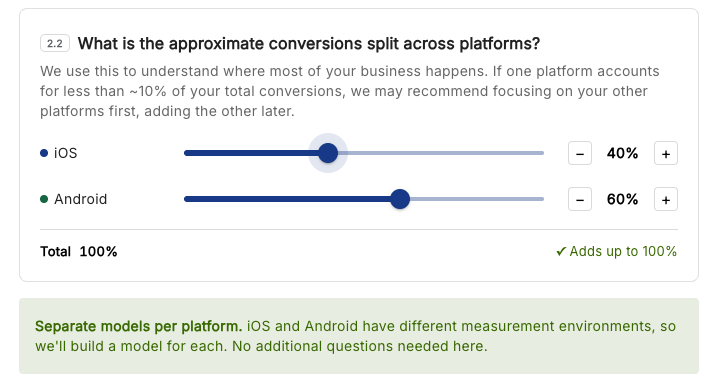
2.2 — Approximate conversions split across platforms
Appears once 2+ platforms are selected. Sliders let you set the relative share of conversions per platform (defaults to an even split, e.g. 50%/50% for two platforms). A running total indicator confirms the split adds up to 100%.
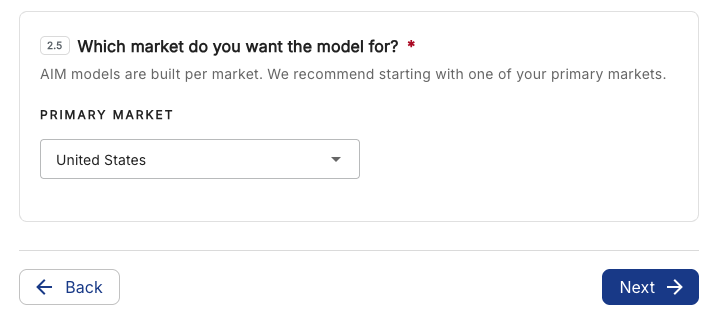
2.5 — Which market do you want the model for? (required)
A Primary market dropdown (disabled until at least one platform is selected) offering:
- United States
- United Kingdom
- Germany
- France
- Canada
- Other
Click Next to proceed.
Step 3 of 8 — Marketing setup
Step 3 (Click to Expand)
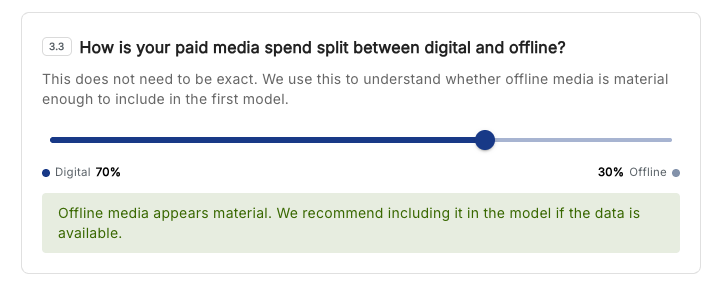
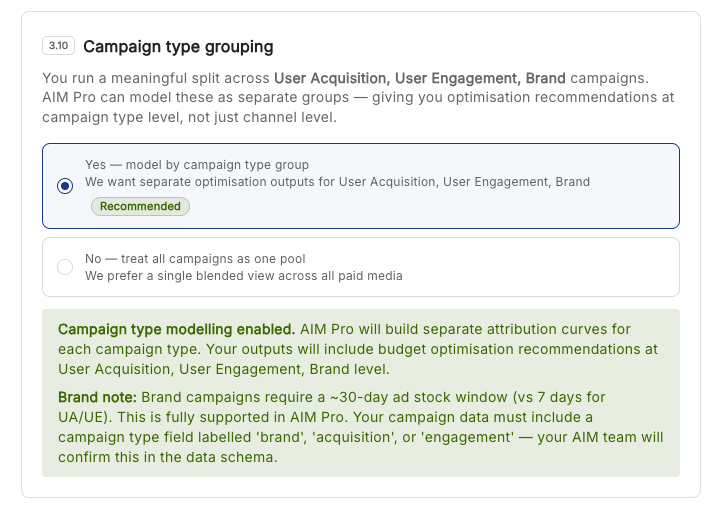
A comprehensive set of questions about the client’s marketing mix. Sub-numbering runs 3.1 → 3.11 (some numbers, like 3.3, 3.9, 3.10, are reserved for conditional questions that only appear based on prior answers).
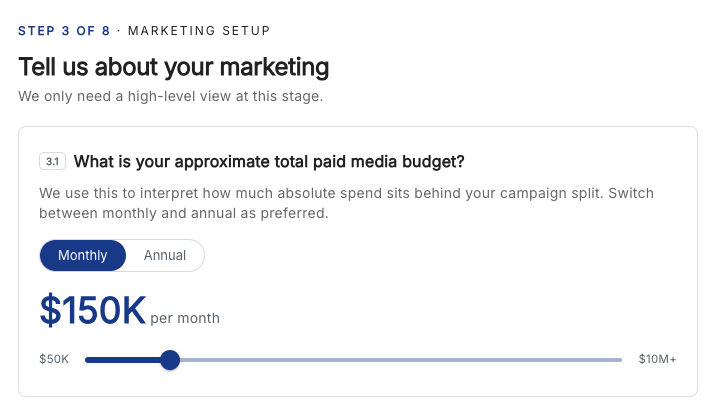
3.1 — Approximate total paid media budget
A dual-mode (Monthly / Annual) pill toggle plus a slider ranging from $50K to $10M+ (values displayed live, e.g. “$50K per month”).
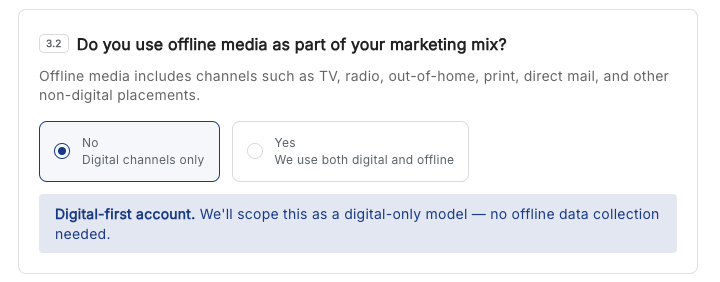
3.2 — Do you use offline media as part of your marketing mix?
Two options:
- No — Digital channels only
- Yes — We use both digital and offline
3.4 — What types of digital media do you run?
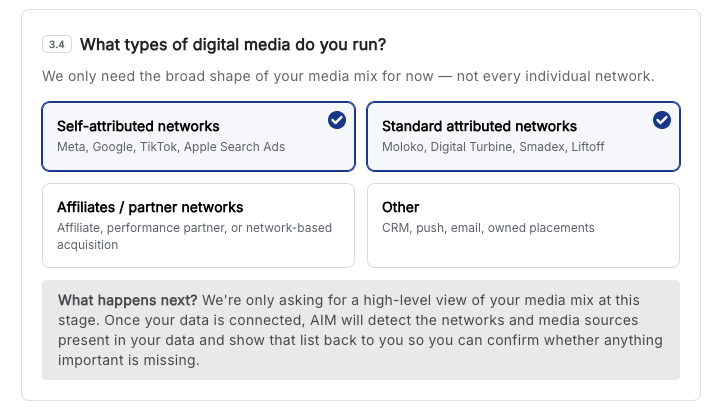
Multi-select tiles:
- Self-attributed networks (Meta, Google, TikTok, Apple Search Ads)
- Standard attributed networks (Moloko, Digital Turbine, Smadex, Liftoff)
- Affiliates / partner networks
- Other (CRM, push, email, owned placements)
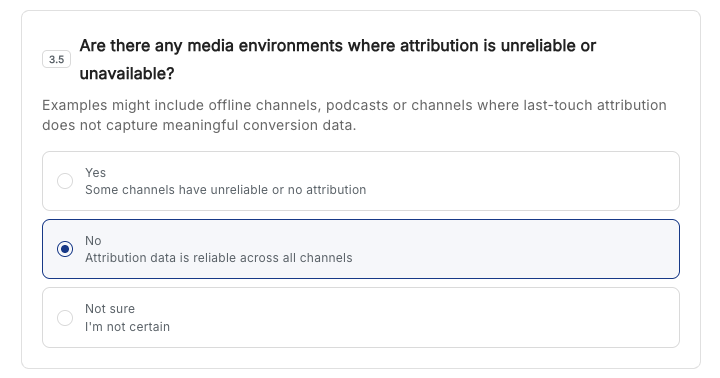
3.5 — Are there any media environments where attribution is unreliable or unavailable?
Radio options: Yes / No / Not sure.
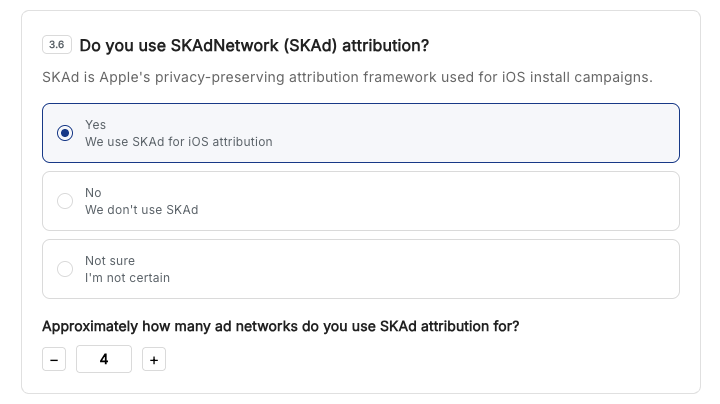
3.6 — Do you use SKAdNetwork (SKAd) attribution?
Radio options: Yes / No / Not sure.
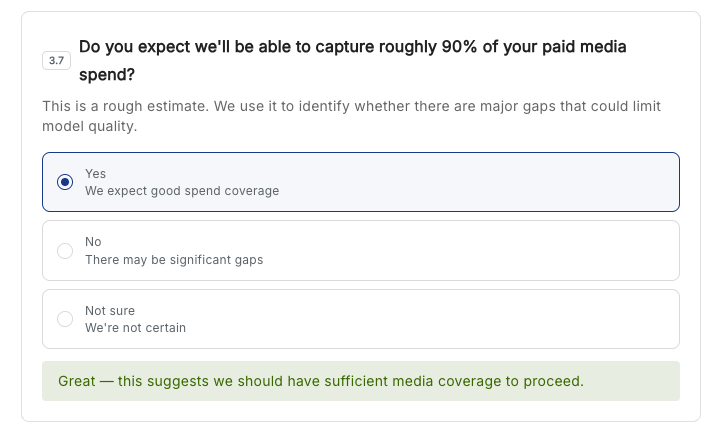
3.7 — Do you expect we’ll be able to capture roughly 90% of your paid media spend?
Radio options: Yes / No / Not sure.
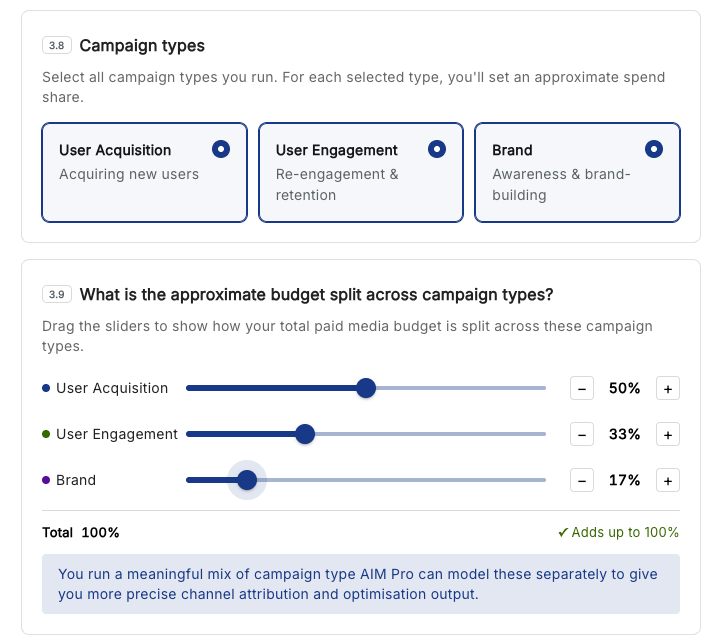
3.8 — Campaign types
Multi-select tiles:
- User Acquisition — Acquiring new users
- User Engagement — Re-engagement & retention
- Brand — Awareness & brand-building
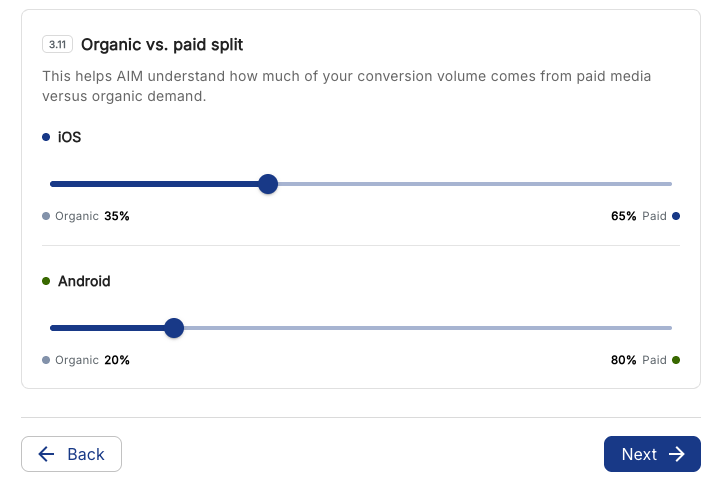
3.11 — Organic vs. paid split
Per-platform sliders (e.g. separate sliders for iOS and Android) showing the modeled split between Organic and Paid conversion volume, each with a percentage legend.
Click Next to proceed.
Step 4 of 8 — Business model & conversion funnel
Step 4 (Click to Expand)
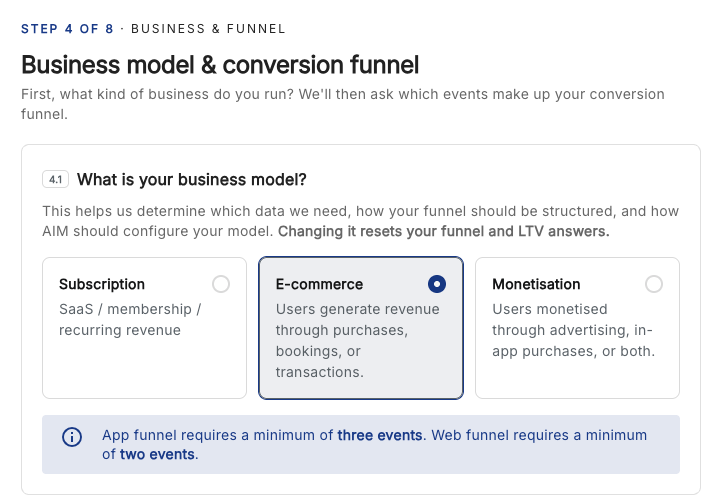
4.1 — What is your business model?
Three options (selecting a different one resets funnel/LTV answers below):
- Subscription — SaaS / membership / recurring revenue
- E-commerce — Users generate revenue through purchases, bookings, or transactions
- Monetisation — Users monetised through advertising, in-app purchases, or both
4.3 — Conversion funnel
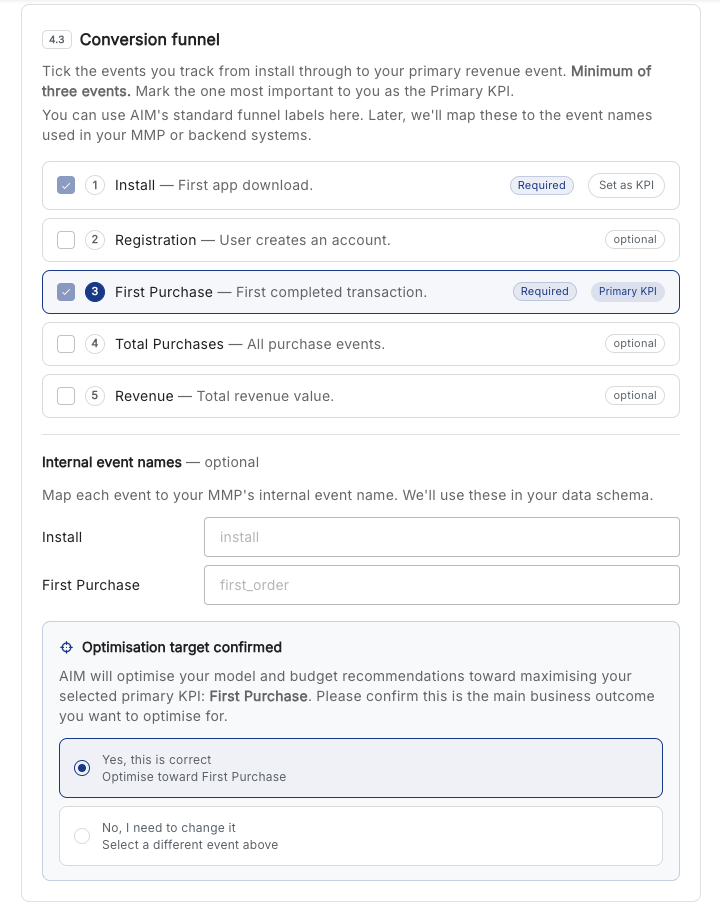
A checklist of standard funnel events is presented (varies by business model). For E-commerce, defaults include:
- Install (Required, pre-checked, disabled — cannot be unchecked)
- Registration (optional)
- First Purchase (Required, pre-checked, marked as default Primary KPI)
- Total Purchases (optional)
- Revenue (optional)
Each event can be checked/unchecked (except required ones), and any checked event can be marked as the Primary KPI via a “Set as KPI” button.
Internal event names (optional) — text fields let you map each selected funnel event to your own MMP/backend event name (e.g. mapping “Install” → “install”, “First Purchase” → “first_order”).
Optimisation target confirmation — once a Primary KPI is set, a confirmation panel appears: “AIM will optimise your model and budget recommendations toward maximising your selected primary KPI: [KPI Name].” with Yes/No radio confirmation.
4.5 — LTV model
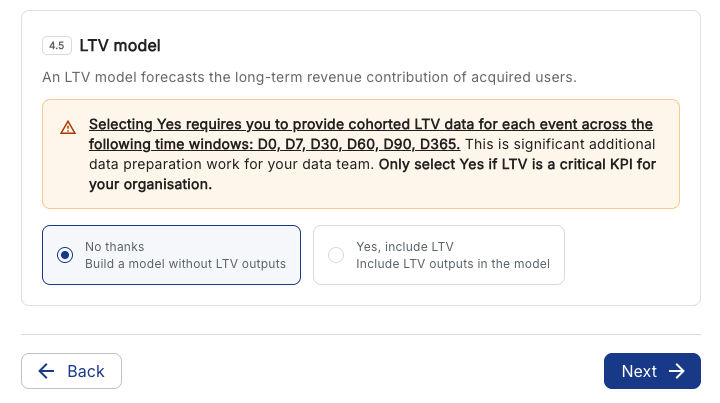
Asks whether to include a Lifetime Value (LTV) model.
Options: No thanks (build without LTV outputs) / Yes, include LTV.
Click Next to proceed.
Step 5 of 8 — Data sources
Step 5 (Click to Expand)
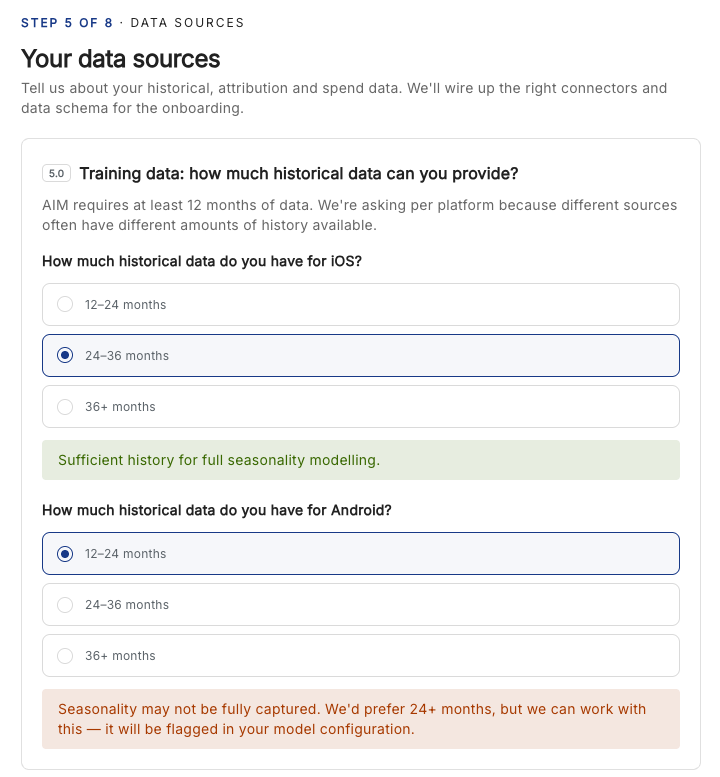
5.0 — Training data: historical data availability
Per-platform question (repeated for each selected platform, e.g. iOS and Android): “How much historical data do you have for [Platform]?”
Options: 12–24 months / 24–36 months / 36+ months.
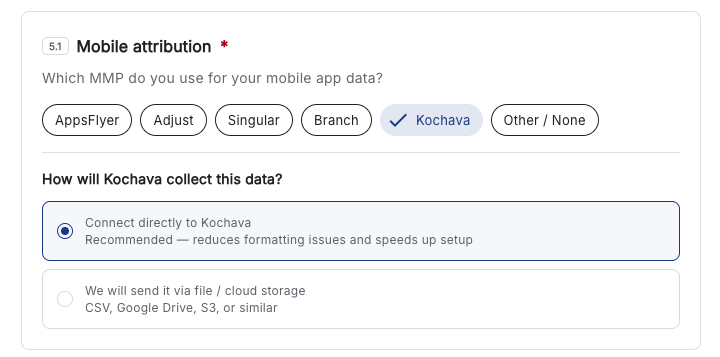
5.1 — Mobile attribution (required)
Chip-select for the client’s MMP: AppsFlyer, Adjust, Singular, Branch, Kochava, Other / None.
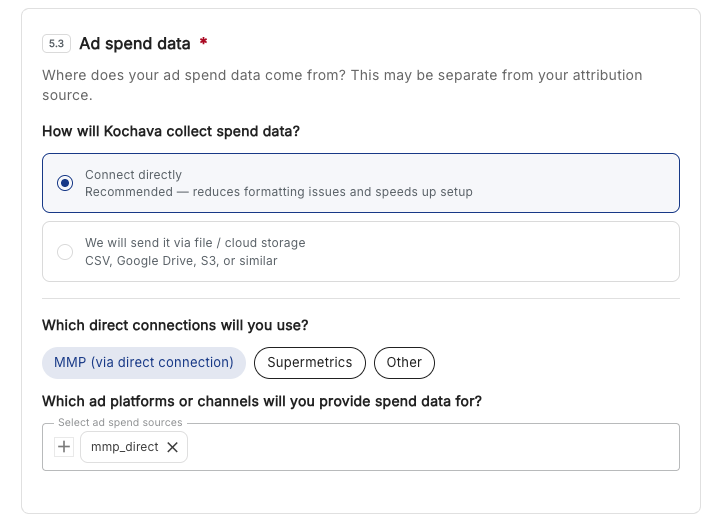
5.3 — Ad spend data (required)
Asks how Kochava will collect spend data:
- Connect directly (Recommended — reduces formatting issues and speeds up setup)
- We will send it via file / cloud storage (CSV, Google Drive, S3, or similar)
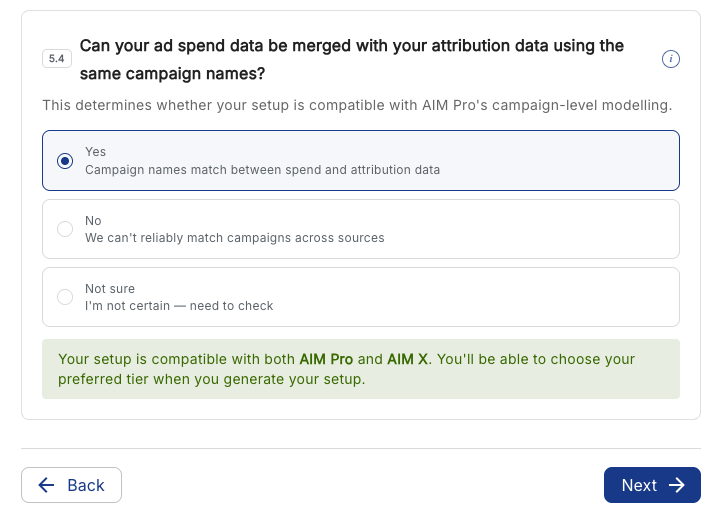
5.4 — Campaign name matching for merge compatibility
“Can your ad spend data be merged with your attribution data using the same campaign names?” Includes an info (“i”) tooltip button explaining that this determines compatibility with AIM Pro’s campaign-level modelling.
Options: Yes / No / Not sure.
Click Next to proceed.
Step 6 of 8 — External factors
Step 6 (Click to Expand)
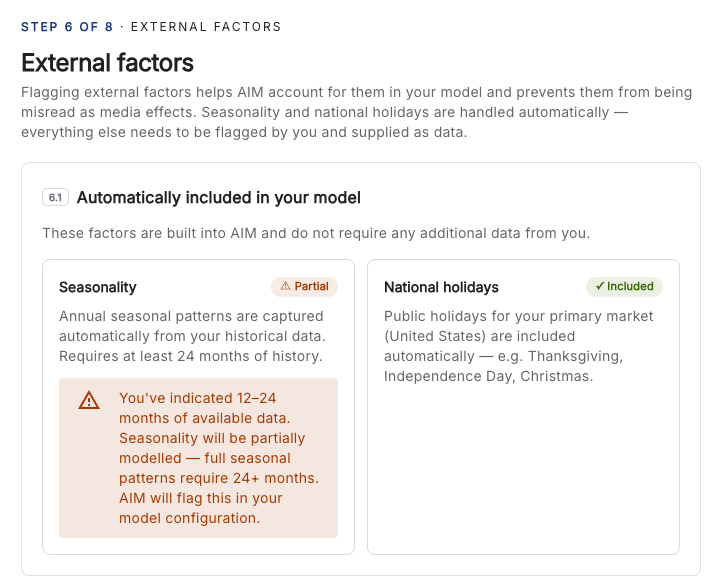
6.1 — Automatically included in your model
Informational only — no input needed:
- Seasonality — ✓ Included (captured automatically from historical data; requires ≥24 months of history)
- National holidays — ✓ Included (public holidays for the selected primary market, e.g. United States: Thanksgiving, Independence Day, Christmas)
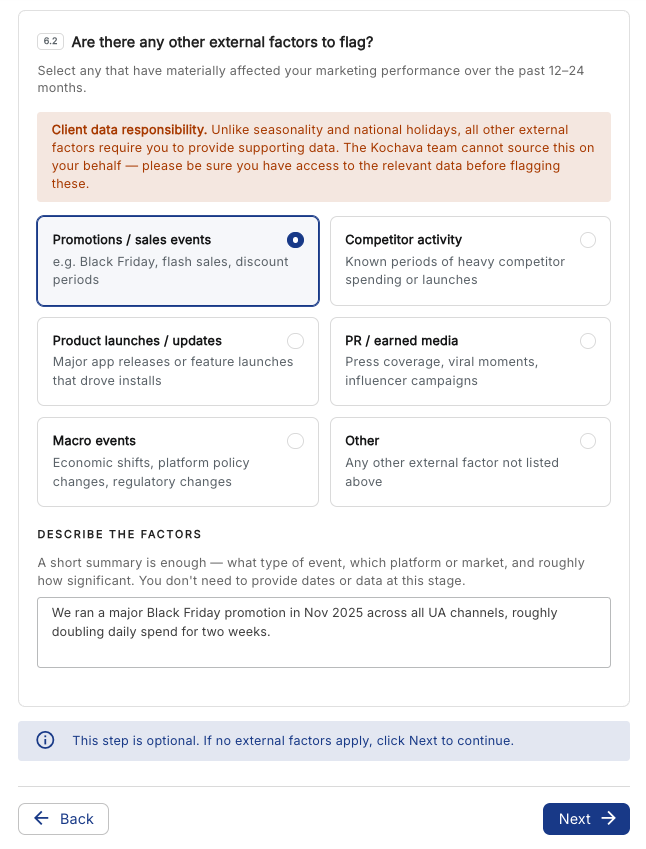
6.2 — Are there any other external factors to flag?
Multi-select tiles:
- Promotions / sales events
- Competitor activity
- Product launches / updates
- PR / earned media
- Macro events
- Other
Click Next to proceed.
Step 7 of 8 — Objectives
Step 7 (Click to Expand)
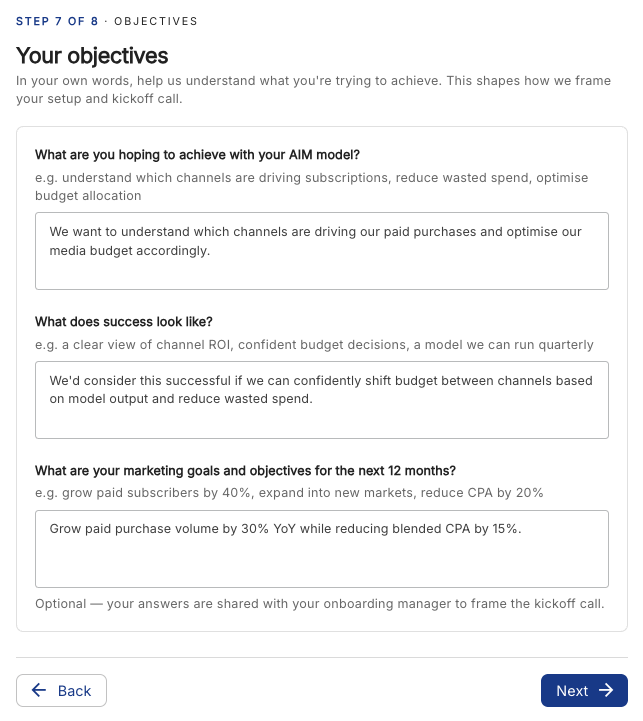
Three optional open-ended text areas, intended to help frame the kickoff call:
- What are you hoping to achieve with your AIM model?
- What does success look like?
- What are your marketing goals and objectives for the next 12 months?
Each includes example placeholder text to guide the response.
Click Next to proceed.
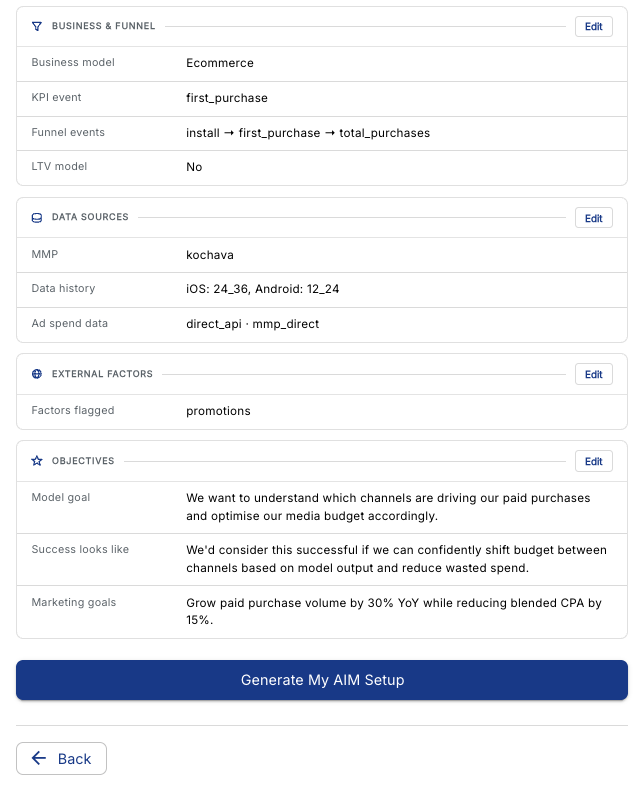
Step 8 of 8 — Summary (Review your answers)
Step 8 (Click to Expand)
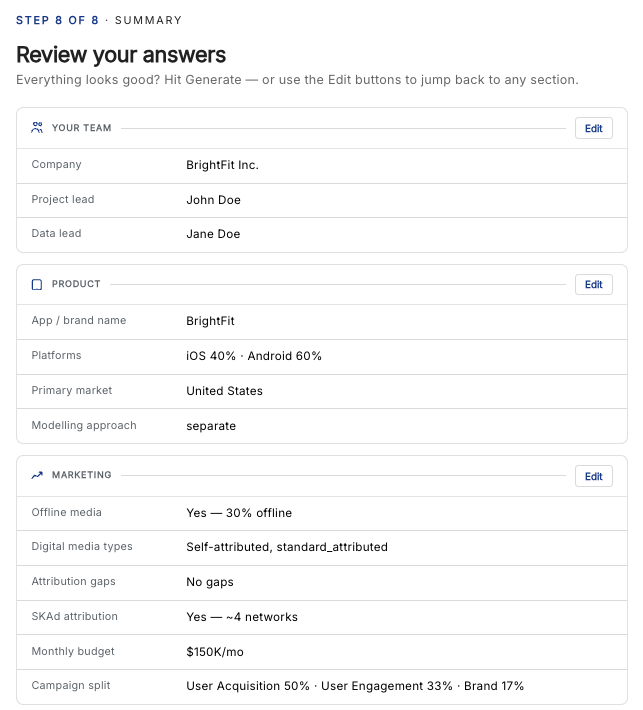
Presents a full read-back of every answer, grouped into collapsible/editable sections, each with its own Edit button that jumps back to the corresponding step:
- Your Team — Company, Project lead, Data lead
- Product — App/brand name, Platforms & split, Primary market, Modelling approach
- Marketing — Offline media, Digital media types, Attribution gaps, SKAd attribution, Monthly budget, Campaign split
- Business & funnel — Business model, KPI event, Funnel events, LTV model
- Data sources — MMP, Data history, Ad spend data method
- External factors — Factors flagged (or “None”)
- Objectives — Model goal, Success definition, Marketing goals (or “—” if left blank)
A large “Generate my AIM setup” button at the bottom finalizes the questionnaire and produces the Output screen.
Output Screen — “Your onboarding record”
Once generated, answers are locked (though the Timeline can still be updated). The header displays:
- App name, company, and primary market
- A tier chip (e.g. “AIM X”) indicating the recommended AIM product tier
- “Book my onboarding meeting” button
- “Edit answers” button (returns to the wizard)

If required fields remain incomplete, a validation summary alert lists each incomplete step with a “Go back to fix →” button per row.
The output is organized into four tabs:
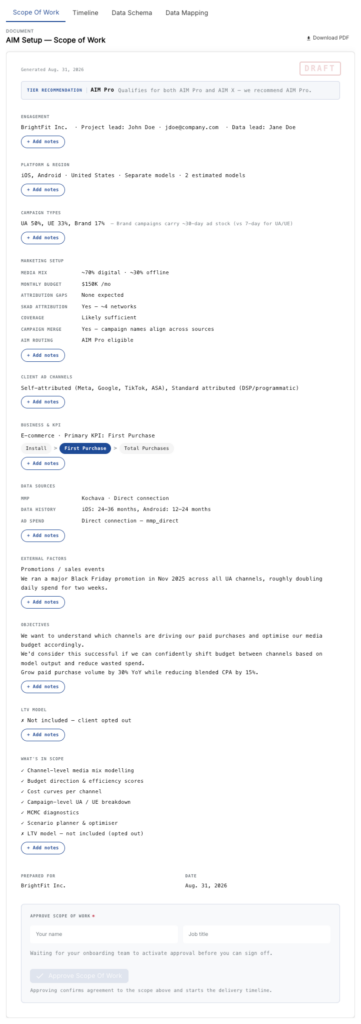
Tab 1: Scope of Work (SOW)
A formatted, downloadable (PDF) document marked DRAFT until approved, including:
- Generated date and Tier recommendation band (e.g. “AIM X — Best suited to AIM X based on current setup”)
- Engagement — company and contact details
- Platform & region — platforms, market, modelling approach (separate/combined), and number of estimated models
- Campaign types — with spend share
- Marketing setup — media mix type, monthly budget, attribution gaps, SKAd usage, spend coverage confidence, campaign merge compatibility, AIM routing recommendation
- Client ad channels
- Business & KPI — business model, primary KPI, and a visual funnel chip trail (e.g. Install → First Purchase)
- Data sources — MMP, data history per platform, ad spend collection method
- External factors
- Objectives (or a placeholder note if left blank)
- LTV model status
- What’s in scope — a checklist of included/excluded capabilities (e.g. Channel-level media mix modelling ✓, Campaign-level breakdown ✗ available in AIM Pro, MCMC diagnostics ✗ available in AIM Pro, LTV model ✗ if opted out)
- Sign-off block — “Prepared for,” date, and an Approval section requiring the approver’s name and job title. Each section also includes a “+ Add notes” option.
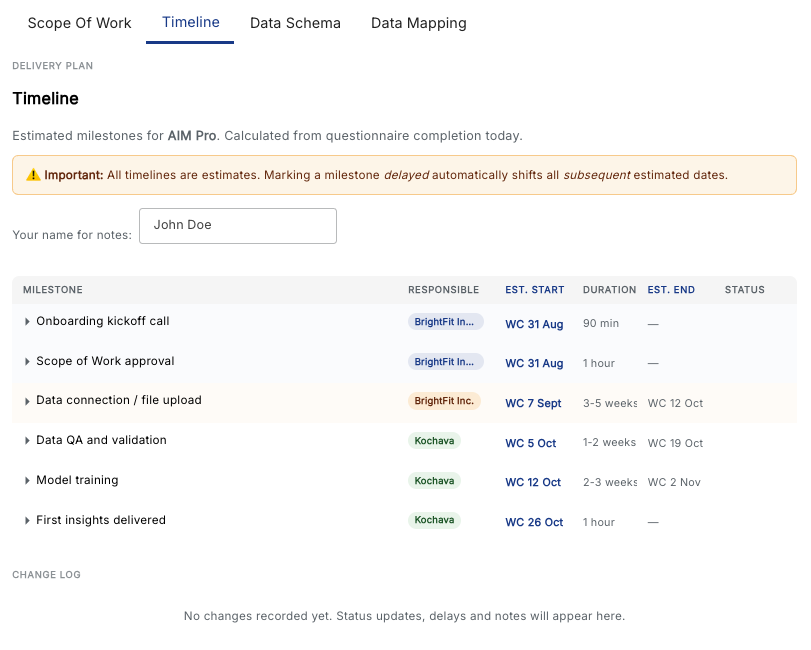
Tab 2: Timeline
A Delivery Plan table listing milestones with columns: Milestone, Responsible (client/Kochava/both — color-coded chips), Est. start, Duration, Est. end, and Status (dropdown: Not started / In progress / Complete / Delayed).
Default milestones generated from questionnaire completion:
| # | Milestone | Responsible | Duration |
|---|---|---|---|
| 1 | Onboarding kickoff call | Both parties | 90 min |
| 2 | Scope of Work approval | Both parties | 1 hour |
| 3 | Data connection / file upload | Client | 2–3 weeks |
| 4 | Data QA and validation | Kochava | ~1 week |
| 5 | Model training | Kochava | 1–2 weeks |
| 6 | First insights delivered | Kochava | 1 hour |
A Change log section at the bottom records all status updates, delays, and notes (empty by default).
Tab 3: Data Schema
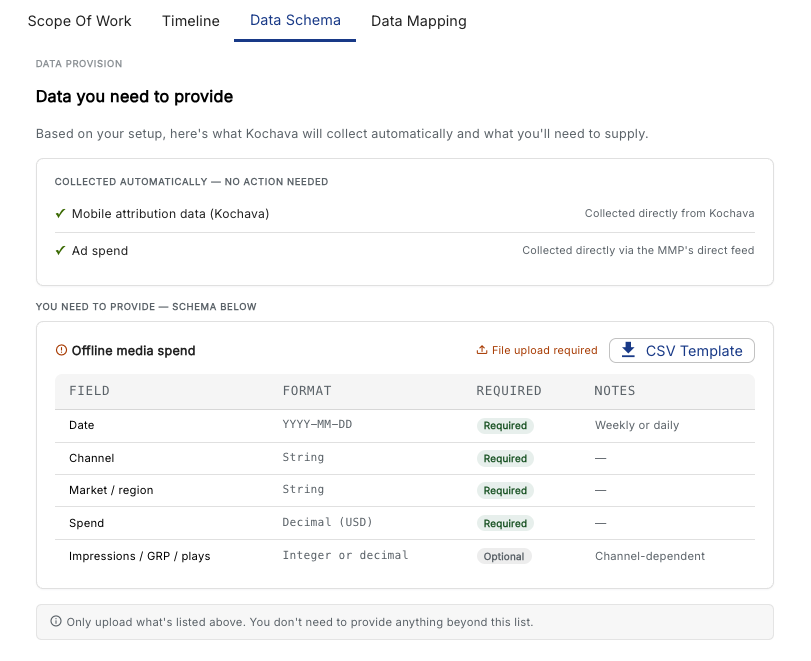
Shows what Kochava collects automatically vs. what the client must supply.
A table lists each auto-collected data category (e.g. “Ad spend — Collected directly via connected integrations”).
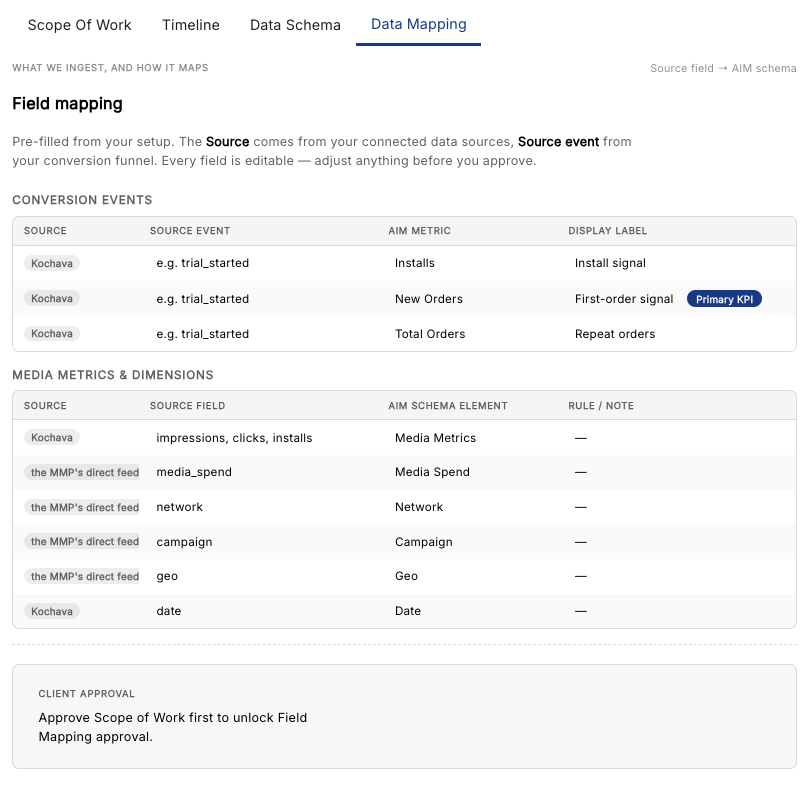
Tab 4: Data Mapping
Displays two editable field-mapping tables pre-filled based on earlier answers:
Conversion Events table — columns: Source, Source Event, AIM Metric, Display Label. Each funnel event selected in Step 4 gets a row (e.g. Install → “Installs” → “Install signal”; First Purchase → “New Orders” → “First-order signal,” tagged Primary KPI). Source Event fields are editable text inputs (pre-filled with a placeholder like “e.g. trial_started” until the client enters their actual event name).
Media Metrics & Dimensions table — columns: Source, Source Field, AIM Schema Element, Rule/Note. Pre-populated rows map standard media fields (impressions/clicks/installs, media_spend, network, campaign, geo, date) from their respective sources (Kochava or Ad platform APIs) to AIM’s schema.