The following document defines the process for creating a Facebook FMP Reengagement Postback within Kochava.
Data Needed Before Beginning Process:
- Kochava Click Tracker ID from FMP install campaign.
NOTE: The Reengagement Campaign setup process for iOS and Android is similar and therefore this document will cover the setup for both operating systems, with specific differences noted.
Create a FMP Postback
- Log in to Kochava.
- Select the desired Account and App.
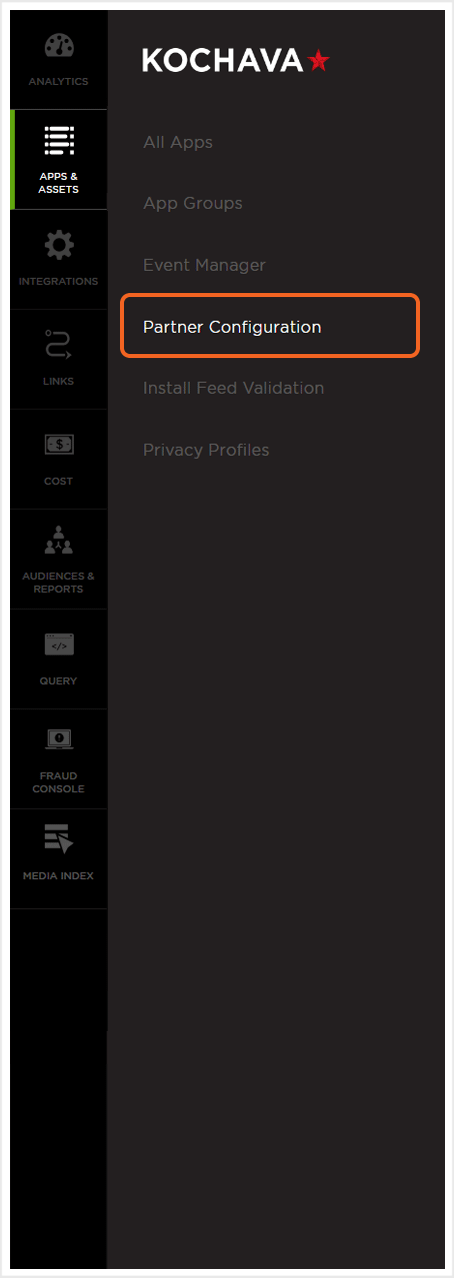
- Select Apps & Assets > Partner Configuration.

- Click Add a Configuration.
- Select the FMP Media Partner.
- Click Go.
- Locate the desired reengagement event and Click Edit Postback.
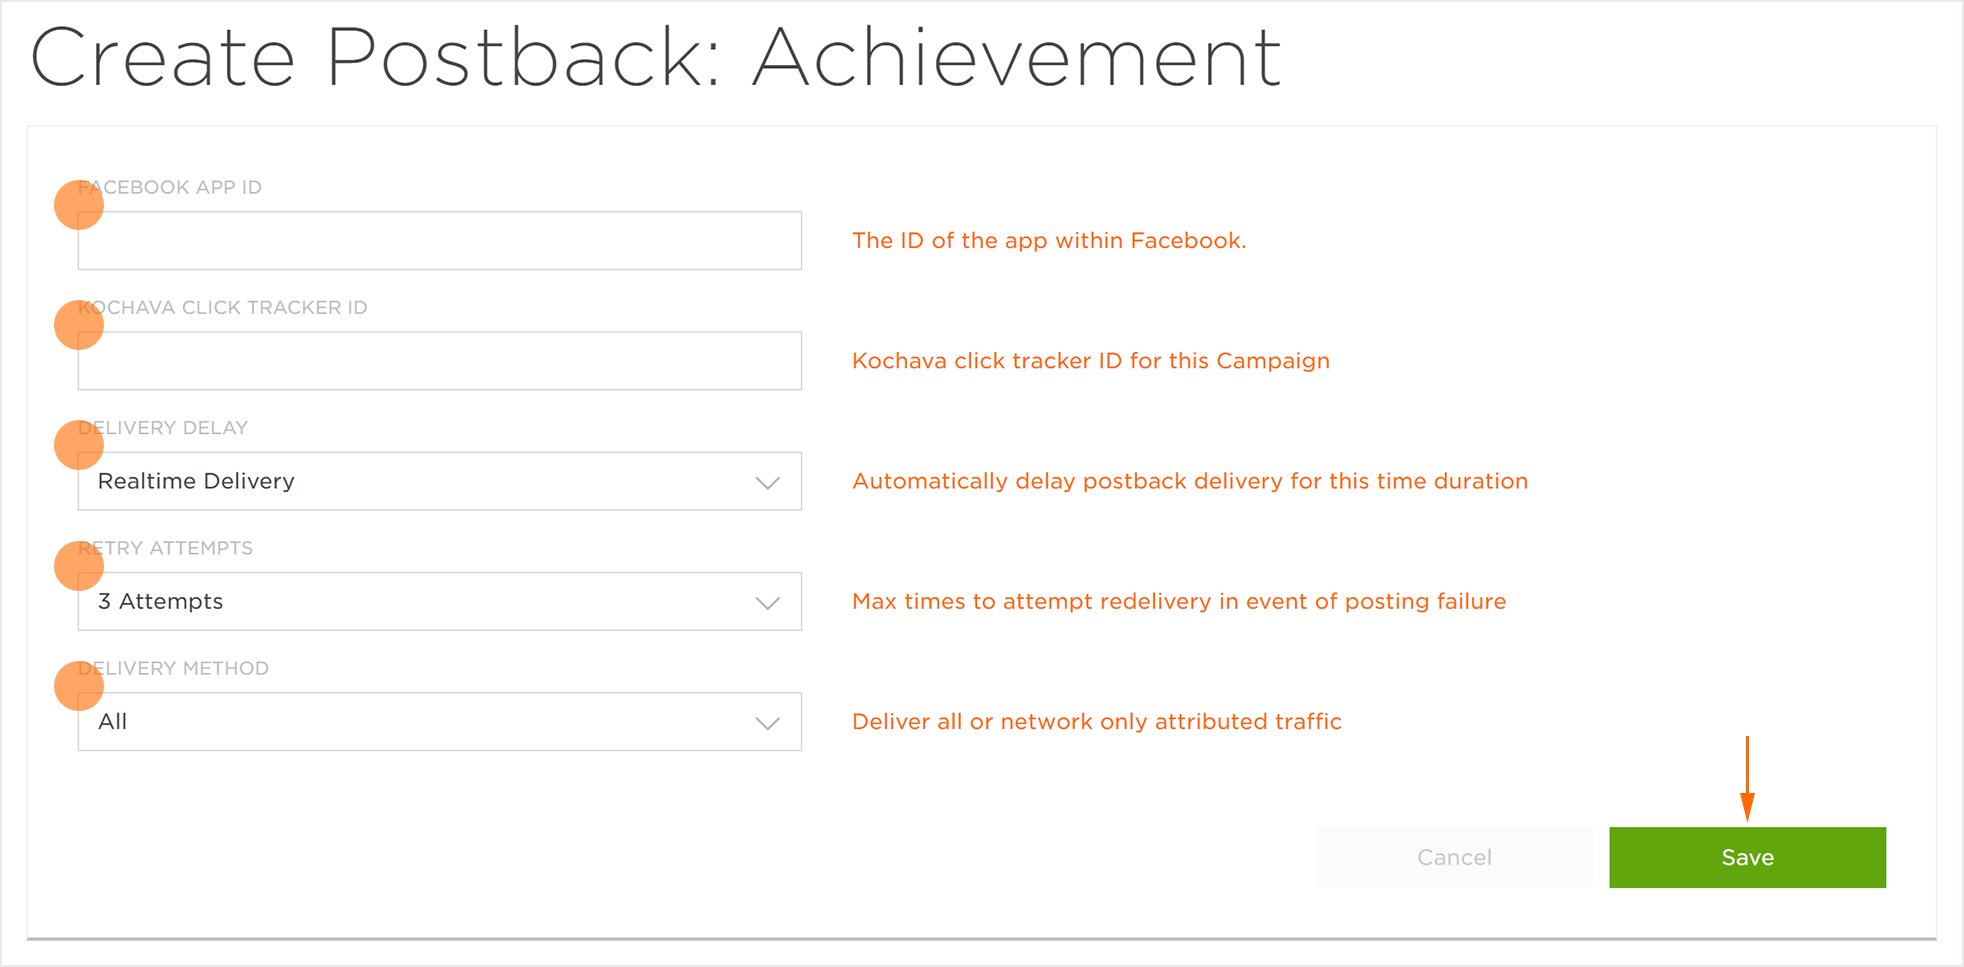
- Enter the Facebook App ID. (obtained from Facebook)
- Enter the Click Tracker ID.
- Enter any FMP network specific data.
- Select the Delivery Delay. (optional)
- Select the number of Retry Attempts. (optional)
- Select the Delivery Method > All.
NOTE: Not all FMPs require Click Tracker IDs if required, the Click Tracker ID is located within the original FMP Install campaign within Kochava.
NOTE: The data required by each FMP network will vary depending on the selected network. Contact the FMP to locate the network specific data needed for completing the postback.

