The following document defines the process for testing a Campaign within Kochava.
Preparation of the Test Device: (Complete one of the following)
- The test device has never had the app installed.
- The app has been uninstalled and the device has been scrubbed. For more information on scrubbing the test device, refer to our Scrubbing a Device ID support documentation.
Procedures Completed Before Beginning Process:
- Campaign successfully created within Kochava. For more information, refer to our Campaign Management support documentation.
- Postback successfully created within Kochava. For more information, refer to our Create a Kochava-Certified Postback support documentation.
Testing a Campaign Procedures
- Log in to Kochava.
- Select the desired Account and App.
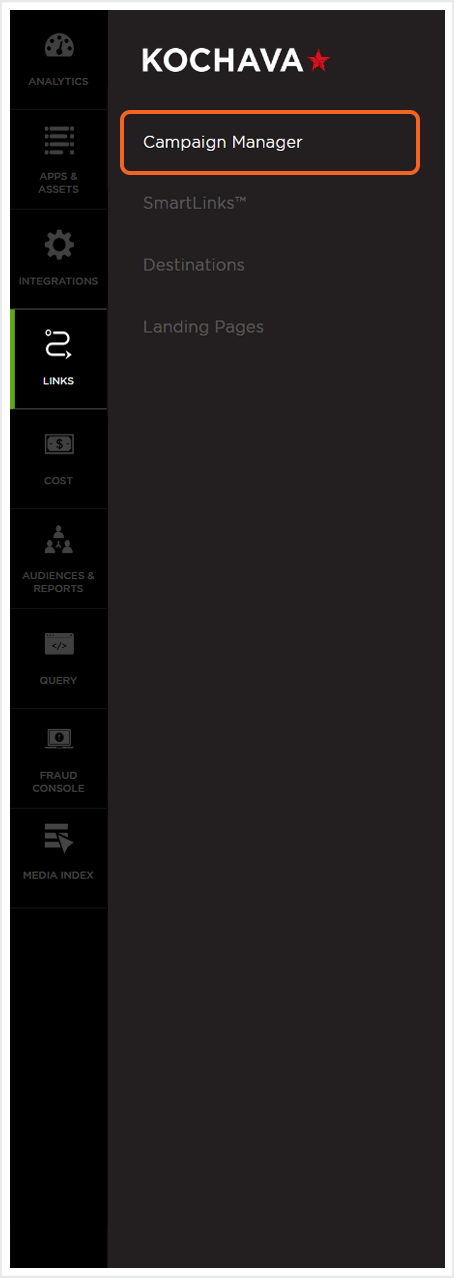
- Select Links > Campaign Manager.

- Locate the desired Campaign and click the expand button.
- Locate the desired Tracker, Select Tracker Tools (⋮) > Edit.
- Locate the Click URL.
- Copy and Email the Click URL to an email address accessible from the test device.
- Replace Macros.
- From the test device, Click the Click URL.
- Install the app.
- Launch the app on the test device.
![]()
NOTE: It is vitally important that the Device_ID parameter macros be replaced with your devices identifier if testing device level matching.
NOTE: Ensure to install a version of the app that contains the Kochava SDK.
NOTE: After the app has been installed, it MUST be launched to complete the attribution process.
