The following document describes how to set up a campaign for Roku.
Data Needed Before Beginning Process:
- App Store ID
- Roku Event Group ID
Additional Links:
- Roku – Integration with Kochava
Create a Link for a Roku SAN Install Campaign
- Log in to Kochava.
- Select the desired Account and App.
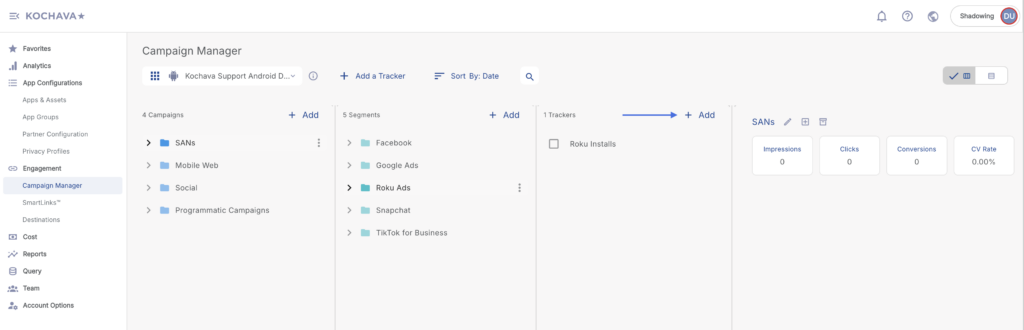
- Select Engagement > Campaign Manager.
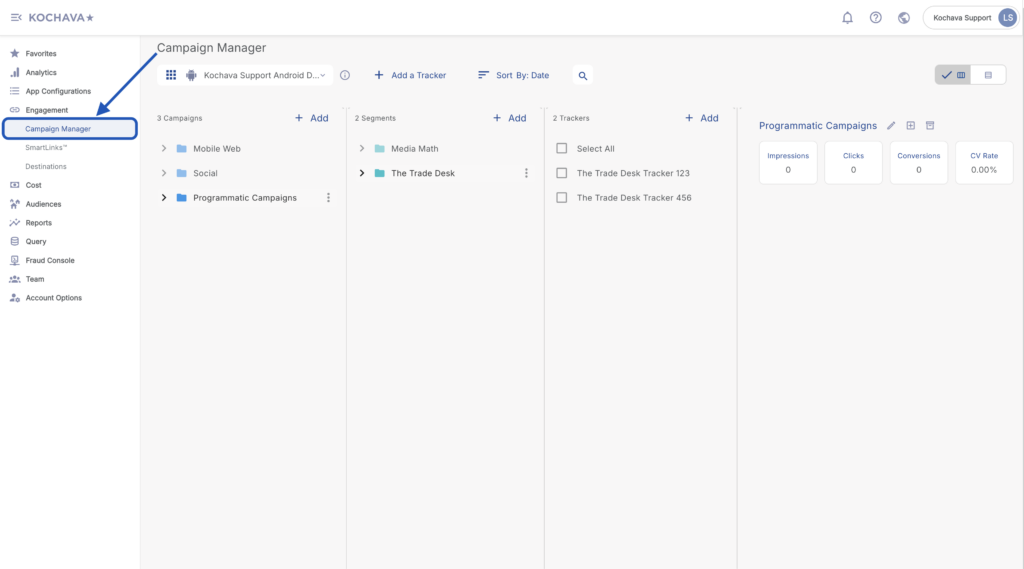
- Click + Add (Tracker).
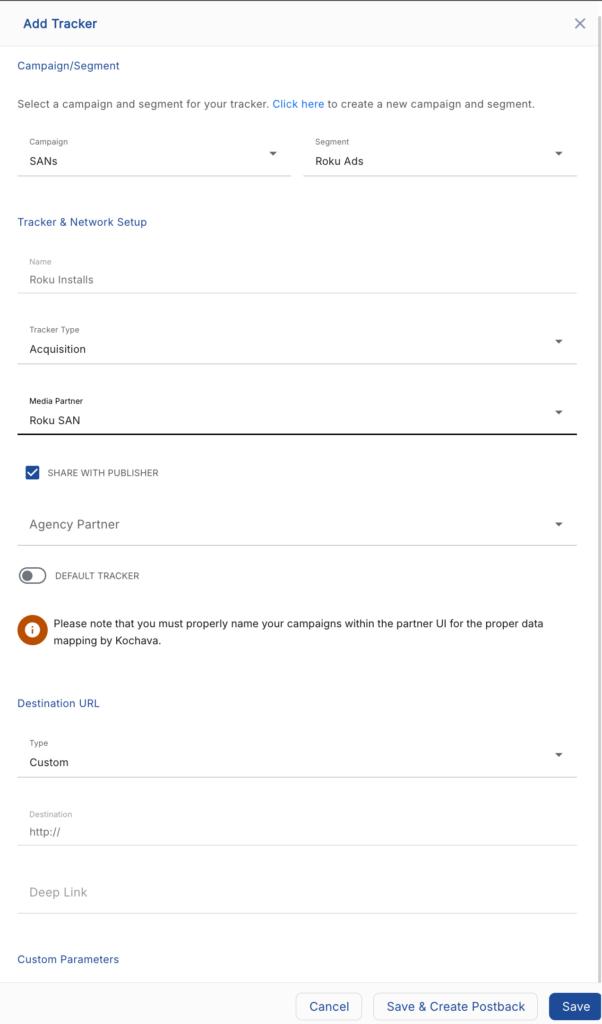
- Enter the Tracker Name.
- Select Tracker Type > Acquisition. (default setting)
- Select Media Partner > Roku SAN.
- Select Agency Partner. (optional)
- Enter the Destination URL.
- Enter a Deep Link. (optional)
- Enter any Custom Parameter(s). (optional)
- Check Hardcode Cost and enter the amount. (optional)
- Click Save. (If no further trackers need to be created)
- Click Save & Add Another Tracker. (If additional trackers need to be created)
- Click Save & Create Postback (to navigate directly to the Partner Configuration page).
Install Postback Configuration
- Select App Configurations > Partner Configuration.
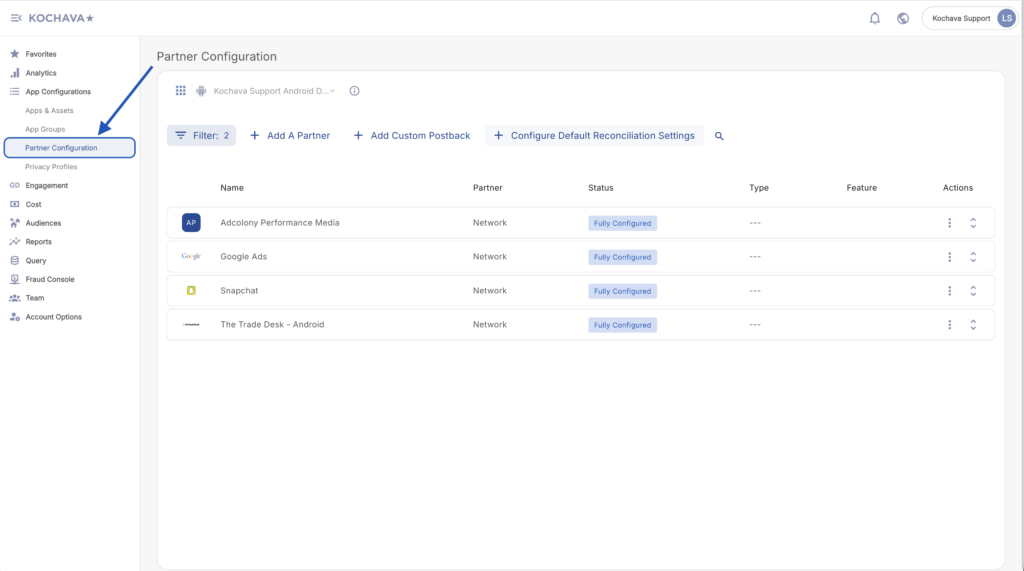
- Click + Add a Partner.
- Select Media Partner > Roku SAN.
- Click Next.
- Verify Status: Active.
- Click Save.
- Expand Roku SAN Partner Configuration.
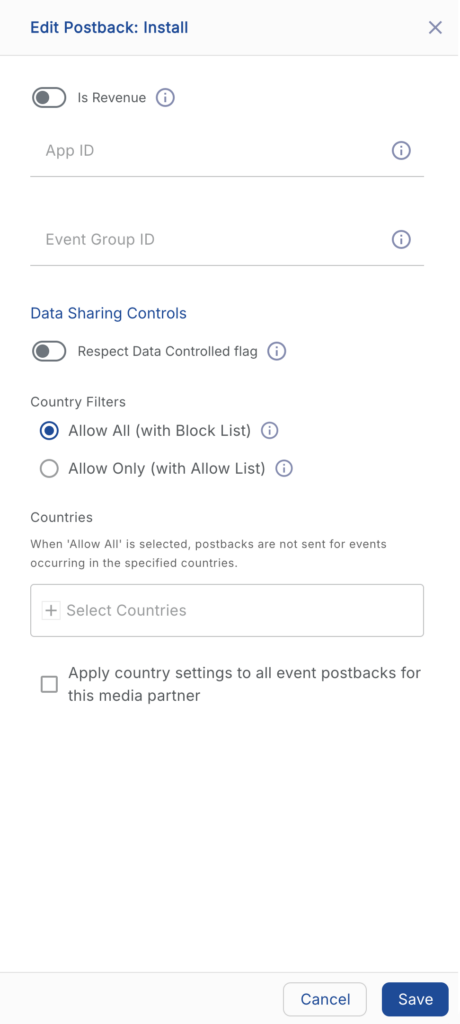
- Select Install > ⚙ (Edit).
- Enter the App Store ID.
- Enter the Roku Event Group ID.
- Click Save.
Reengagement Configuration
The information within this section provides the steps necessary to establish a reengagement campaign. If a reengagement campaign does not need to be created, the information in this section may be disregarded.
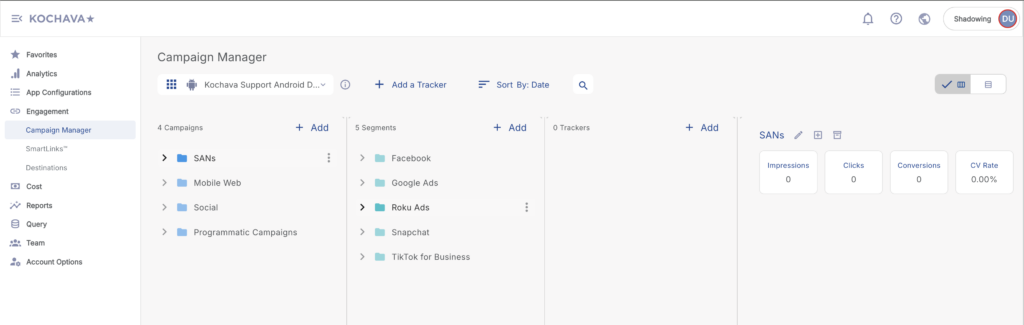
- Navigate to Engagement > Campaign Manager.
- Locate the desired Campaign & Segment.
- Click + Add (Tracker).
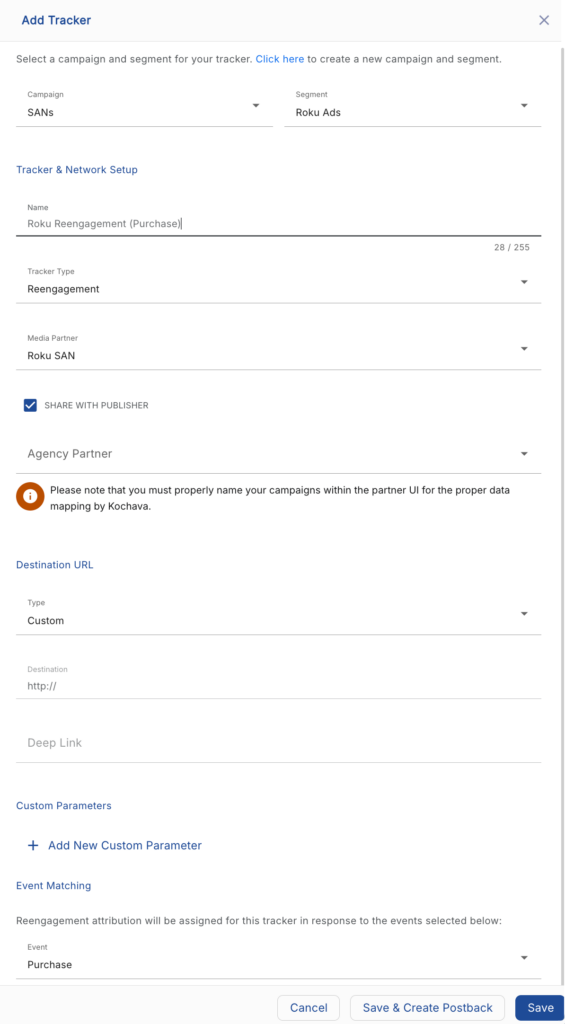
Create a Reengagement Tracker:
- Enter a Tracker Name.
- Select Tracker Type > Reengagement.
- Select Media Partner > Roku SAN.
- Select an Agency Partner. (optional)
- Select the Roku Event that will map to the selected Kochava event.
- Add Reengagement Event.
- Click Save (If no further trackers need to be created).
- Click Save & Add Another Tracker (If additional events need to be created).
- Click Save & Create Postback (to navigate directly to the Partner Configuration page).
Post-Install Event Postback Configuration:
- Select App Configurations > Partner Configuration.
- Expand the Roku Partner Configuration.
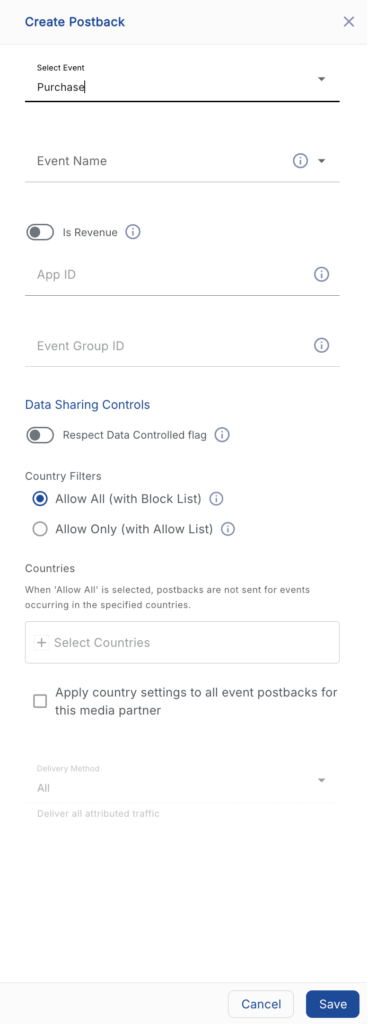
- Select + Add a Postback.
- Select the desired Event.
- Enter the Roku Event Name.
- Toggle the Is Revenue if the selected event should send revenue data to Roku.
- Enter the App ID.
- Enter the Event Group ID.
- Click Save.
Standard Post-Install Event List:
| Key | Description |
|---|---|
| achieve_level | A user reaches a certain level that you have defined in your game. |
| add_payment_info | When payment information is added in the checkout flow. |
| add_to_cart | When a product is added to the shopping cart. |
| add_to_wishlist | When a product is added to a wishlist. |
| app_install | When a user installs an app, or fist time an app is opened/launched. |
| complete_registration | When a registration form is completed. |
| contact | When a person initiates contact with your business via telephone, SMS, email, chat, etc. |
| customize_product | When a person customizes a product. |
| donate | When a person donates funds to your organization or cause. |
| download | A download of a doc, info, or service. |
| find_location | When a person searches for a location of your store via a website or app, with an intention to visit the physical location. |
| first_video_view | First time video view will map to Roku FTV. |
| initiate_checkout | When a person enters the checkout flow prior to completing the checkout flow. |
| lead | When a sign up is completed. |
| page_view | This is the default pixel tracking page visits. |
| purchase | When a purchase is made or checkout flow is completed. |
| qss | Trigger Quality Streaming Session on Video Views exceeding 5M of contiguous video playback time. |
| schedule | When a person books an appointment to visit one of your locations. |
| search | When a search is made. |
| session_start | App session. |
| sign_up | When a person applies for a product, service, or program you offer. |
| start_trial | When a person starts a free trial of a product or service you offer. |
| subscribe | When a person applies to start a paid subscription for a product or service you offer. |
| subscription_cancellation | When a subscription is cancelled by the user. |
| subscription_renewal | When a subscription is auto-renewed – this could be system generated event. |
| unlock_achievement | A user unlocks a certain achievement that you have defined in your app. |
| view_content | Used to capture a VIEW in app whether a particular movie/show was streamed. |