This feature is available only with paid Kochava accounts. Contact us to learn more.
Kochava provides the ability to track campaigns run through Facebook Ads Manager. The following document defines the process for setting up a Facebook Web campaign within Kochava, linking the Kochava campaign to a Facebook Web ad and how the traffic against the Facebook Web Traffic campaigns will be displayed within Kochava Analytics and Reporting.
Data Needed Before Beginning Process:
- Valid Facebook Ads Manager account
Create a Facebook Web Campaign
- Log in to Kochava.
- Select the desired Account and App.
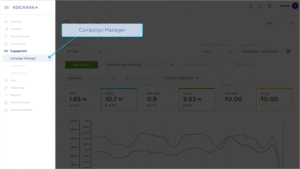
- Select Engagement > Campaign Manager.
- Click + Add (Tracker) or Select Segment Tools (⋮) > Add Tracker.
- Enter the Tracker Name.
- Select Tracker Type > Acquisition. (default setting)
- Select Media Partner > FB – Web.
- Select an Agency Partner. (optional)
- If leveraging UTM parameters, insert the following in the the Query String of your website URL entry:
&utm_medium={utm_medium}&utm_source={utm_source}&utm_campaign={utm_campaign}&utm_term={utm_term}&utm_content={utm_content}
- Click Save. (if no further trackers need to be created)
- Click Save & Add Another Tracker. (if additional trackers need to be created)
- Click Save & Create Postback (to navigate directly to the Partner Configuration page).
- Copy and Retain the Click URL.
Facebook Ads Manager Configuration
- Log in to Facebook Ads Manager.
- Select Facebook Ads Menu > Ads Manager.
- Select the desired Ads Account.
- Click Ads tab.
- Select the desired Ad.
- Click Edit.
- Paste the Kochava Click URL into the Facebook Ads Manager Website URL.
- Click Confirm and Close.
A. Select the desired Ads Account.
B. Check the desired ad.
Tracking Parameters in Analytics and Reporting
Once a campaign within Kochava and Facebook Ads Manager have been successfully created, Kochava will begin receiving clicks against the Facebook Web Traffic Campaigns and will attribute activity from the Web SDK accordingly.
Analytics:
- Log in to Kochava.
- Select the desired Account and App.
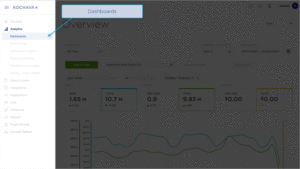
- Select Analytics > Dashboard > Event Detail.
- Click Add a Filter.
- Select Site and/or Creative.
- Select the desired Facebook Ads site.
A. Select Site or Creative.
B. Click “+” to add a site or creative.
Reporting:
- Log in to Kochava.
- Select the desired Account and Web App.
- Select Audiences & Reports.
- Select a report.
- If Campaign Summary or Network Summary report is selected, Add Grouping Options > site and/or creative. (optional)
A. Select a report.
B. For Campaign Summary and Network Summary reports, add parameters to the Grouping Options.